
Midjourney Stylize और Sref से Consistent Style बनाएं
Midjourney AI Team · 23 जुलाई 2026 · 7 min read
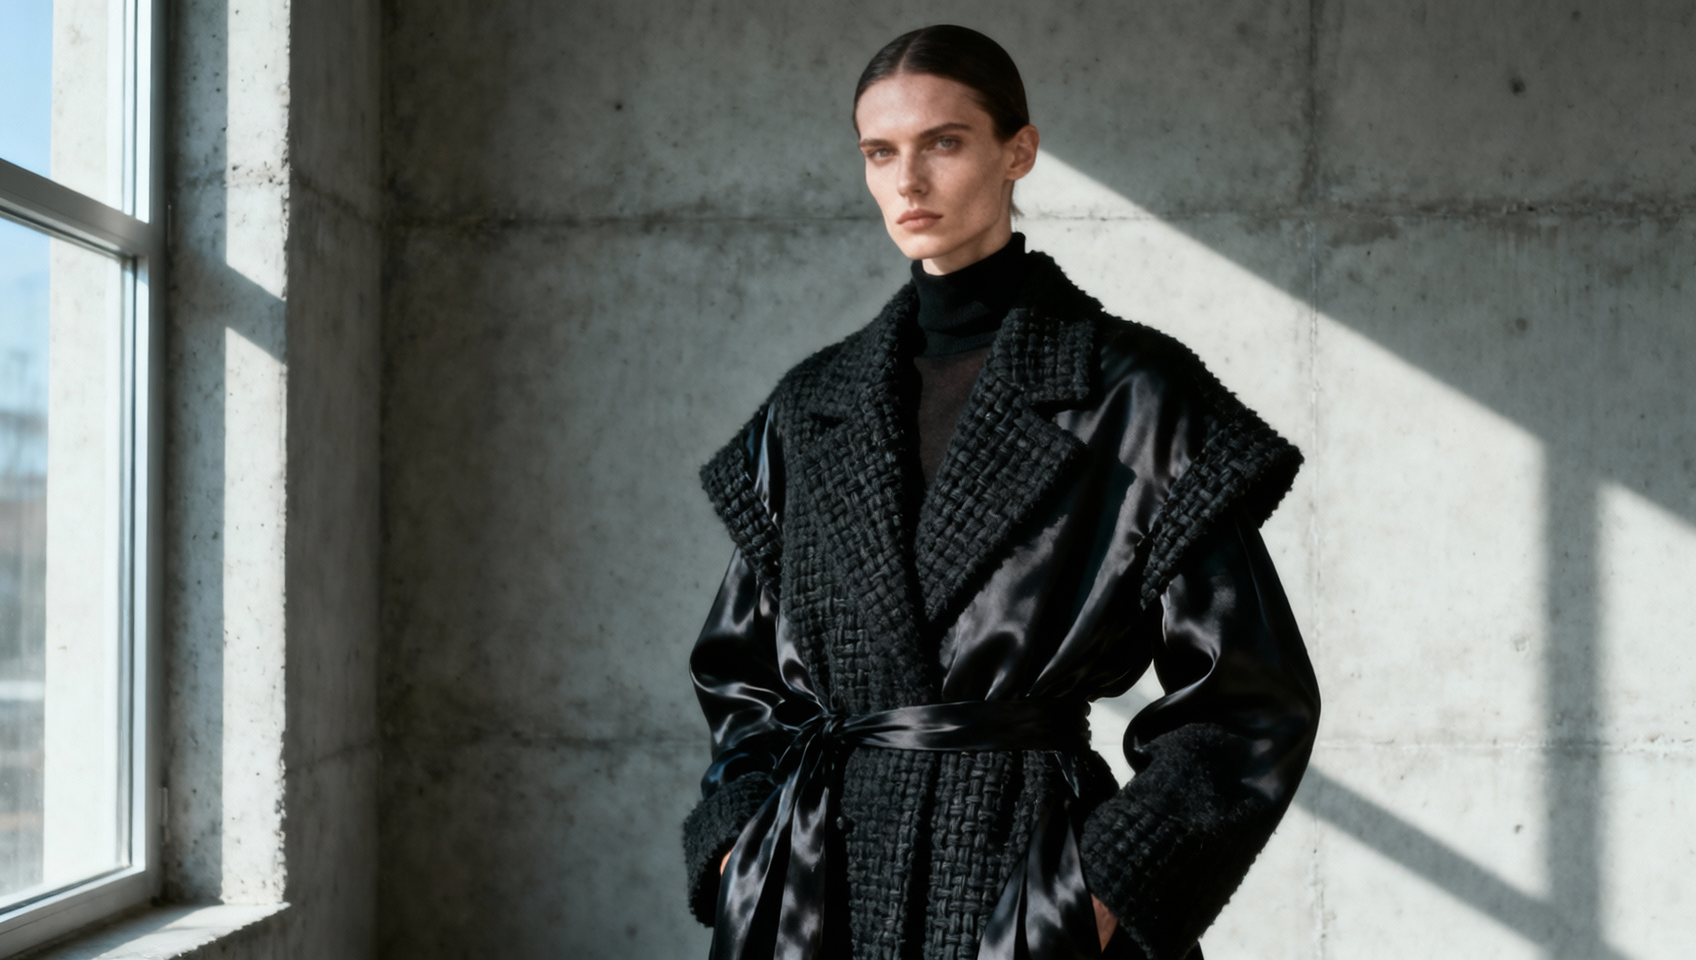
Generative AI में Visual Fingerprint स्थापित करना
Consistency professional AI art production में primary bottleneck है। एक stunning image generate करना trivial है; एक series of assets generate करना जो एक ही brand, project, या universe से belong करते हुए लगें, वहीं पर most workflows fail होते हैं। Midjourney इसे solve करने के लिए दो specific levers offer करता है: --stylize parameter और --sref (Style Reference) parameter।
Aesthetic interpretation और direct style copying के बीच का अंतर समझना critical है। --stylize control करता है कि model आपके prompt के साथ कितनी artistic freedom ले, जबकि --sref generation को existing image की visual qualities से anchor करता है। जब इनका उपयोग MidassAI Studio के अंदर together किया जाता है, तो ये tools आपको हर नए prompt पर guess करने के बजाय एक visual language को codify करने देते हैं।
यह किसके लिए है
यह guide brand designers, concept artists, और content creators के लिए design की गई है जिन्हें multiple assets across visual coherence maintain करना होता है। अगर आप एक deck, storybook, या marketing campaign बना रहे हैं जहाँ color palettes, lighting, और texture stable रहने चाहिए, तो यह workflow essential है। यह उन users के लिए नहीं है जो random variation या one-off experimental art चाहते हैं।
Stylize Parameter को Decode करना
--stylize (या --s) parameter influence करता है कि Midjourney आपके prompt पर अपनी internal aesthetic training को कितनी strongly apply करता है। Value 0 से 1000 के बीच होती है, default typically model version के हिसाब से 100 के आसपास होता है।
कम stylize value (जैसे --s 50) model को force करती है कि वह आपके prompt के literal components को strictly follow करे। आपको वही मिलेगा जो आपने मांगा, लेकिन image में artistic flair या compositional beauty की कमी हो सकती है। यह utilitarian है।
उच्च stylize value (जैसे --s 750) model को prompt accuracy से ऊपर beauty और composition को prioritize करने की permission देती है। रंग अधिक vibrant होंगे, lighting अधिक dramatic होगी, और textures अधिक refined होंगे। हालाँकि, आप text prompt में requested specific details खोने का risk लेते हैं।
Brand work के लिए, sweet spot अक्सर 250 और 400 के बीच होता है। यह range professional दिखने के लिए cukup polish provide करती है बिना prompt से इतना दूर गए कि आप subject matter पर control खो दें। जब --v 7 या later models का उपयोग करते हैं, तो default stylization अक्सर higher होता है, इसलिए product shapes या logos पर strict adherence maintain करने के लिए आपको इसे explicitly lower करना पड़ सकता है।
Style Reference के साथ Aesthetics को Anchor करना
जबकि --stylize artistry की intensity को adjust करता है, --sref artistry के type को define करता है। यह parameter input के रूप में एक image URL accept करता है। Midjourney reference image के color palette, medium, lighting style, और overall mood को analyze करता है और उन qualities को आपकी new generation पर apply करता है।
इसे effectively use करने के लिए, आपको अपनी reference images को carefully curate करना होगा। एकाधिक subjects से भरी हुई reference image model को confuse कर देगी। सबसे अच्छे style references clean होते हैं, texture और lighting पर focused होते हैं, और specific subject matter से devoid होते हैं जिसे आप copy नहीं करना चाहते।
उदाहरण के लिए, अगर आप claymation look चाहते हैं, तो किसी specific clay character की reference image use न करें। इसके बजाय, clay lighting की close-up texture shot use करें। यह style को content से separate करता है।
जब --sref को --stylize के साथ combine किया जाता है, तो interaction powerful हो जाता है। एक high --s value combined with a strong --sref highly polished variations create कर सकता है जो same engine में rendered feel देते हैं। आप multiple --sref URLs add करके multiple style references को chain कर सकते हैं, जिससे आपको एक image की lighting को दूसरे के color palette के साथ blend करने की allowance मिलती है।
Repeatable Workflow बनाना
Consistency के लिए documentation की आवश्यकता होती है। Parameter values के लिए memory पर rely न करें। जब आप एक look achieve करते हैं जो आपकी brand guidelines से match करता है, तो all parameters सहित full prompt string को save करें।
- Base Styles Generate करें: अलग-अलग
--srefURLs का उपयोग करके एक neutral subject की 10–20 variations create करें। - Anchor Select करें: वह generation choose करें जो आपकी target aesthetic से best match करता है।
- Parameters Lock करें:
--svalue और use की गई--srefURL को note करें। - New Subjects पर Apply करें: अलग-अलग subjects के साथ नए prompts पर locked parameters का use करें।
MidassAI Studio में, आप इन parameter sets को presets के रूप में save कर सकते हैं। इससे हर session में लंबे URLs को दोबारा type करने या specific integer values को याद रखने की need eliminate हो जाती है। यह ensure करता है कि आपकी team का हर member same visual guardrails के अंदर assets generate कर रहा है।
Quick Takeaways
Common Pitfalls और Corrections
इन tools के साथ भी, errors occur होते हैं। सबसे common issue "style bleed" है, जहाँ reference image का subject matter new generation में leak हो जाता है। अगर आप एक car के लिए style reference के रूप में cat की photo use करते हैं, तो resulting car में fur texture या feline features हो सकते हैं।
इसे fix करने के लिए, ensure करें कि आपकी style reference abstract या textural है। अगर वे persist करते हैं तो unwanted elements को explicitly exclude करने के लिए --no parameter का use करें। एक अन्य frequent error over-stylization है। --s 1000 set करना अक्सर ऐसी images result करता है जो beautiful दिखती हैं लेकिन prompt से little resemblance रखती हैं। अगर आपकी product shape distort हो रही है, तो stylize value को immediately lower करें।
Parameters के बीच conflict भी arise कर सकता है। एक very high --stylize value के साथ --style raw का use करना unpredictable results create कर सकता है क्योंकि --style raw model के default aesthetic bias को reduce करने की attempt करता है, जबकि high stylize इसे increase करता है। इन्हें production pipeline में commit करने से पहले इन combinations को isolation में test करें।
Media में Style को Extend करना
जबकि Midjourney static image generation पर focus करता है, जो assets आप create करते हैं वे broader AI workflows के लिए foundation serve करते हैं। जो visual fingerprint आप --sref और --stylize का उपयोग करके establish करते हैं, वह AI video upscaling, motion graphics, और even AI music projects के लिए album art के लिए look define करता है।
MidassAI जैसे multimodal studio environment में, image generation step अक्सर first domino होता है। Midjourney में generated एक consistent style sheet ensure करती है कि जब आप video interpolation या audio visualization की ओर move करते हैं, तो source material coherent बना रहे। Image generation को एक isolated task के रूप में treat न करें। इसे सभी subsequent media production के लिए style guide के creation के रूप में view करें।
Tools जो इन workflows को integrate करते हैं, आपको Midjourney generation लेने और उसे immediately video या editing modules में pass करने की allow करते हैं बिना metadata या style context को lose किए। यह continuity ही amateur experimentation को professional production से separate करती है।
अपने Style Engine को Finalize करना
--stylize और --sref को Master करना Midjourney को एक random idea generator से controlled design engine में transform करता है। इसमें iteration और testing की आवश्यकता होती है, लेकिन payoff एक reusable library of visual assets है जो brand integrity maintain करते हैं। Luck के लिए prompting करना बंद करें और precision के लिए prompting शुरू करें।
इस process को streamline करने और अपने style presets को efficiently manage करने के लिए, एक dedicated studio environment का utilize करें। आप latest models और parameter controls के access के साथ इन workflows को immediately test कर सकते हैं।