
character consistency
Midjourney में Character Consistency के 5 एडवांस्ड वर्कफ़्लो
Midjourney AI Team · 23 जुलाई 2026 · 8 min read
Keywords: midjourney character consistency hindi, midjourney cref tutorial, ai art workflow
Published: 23 जुलाई 2026 Author: Midjourney AI Team
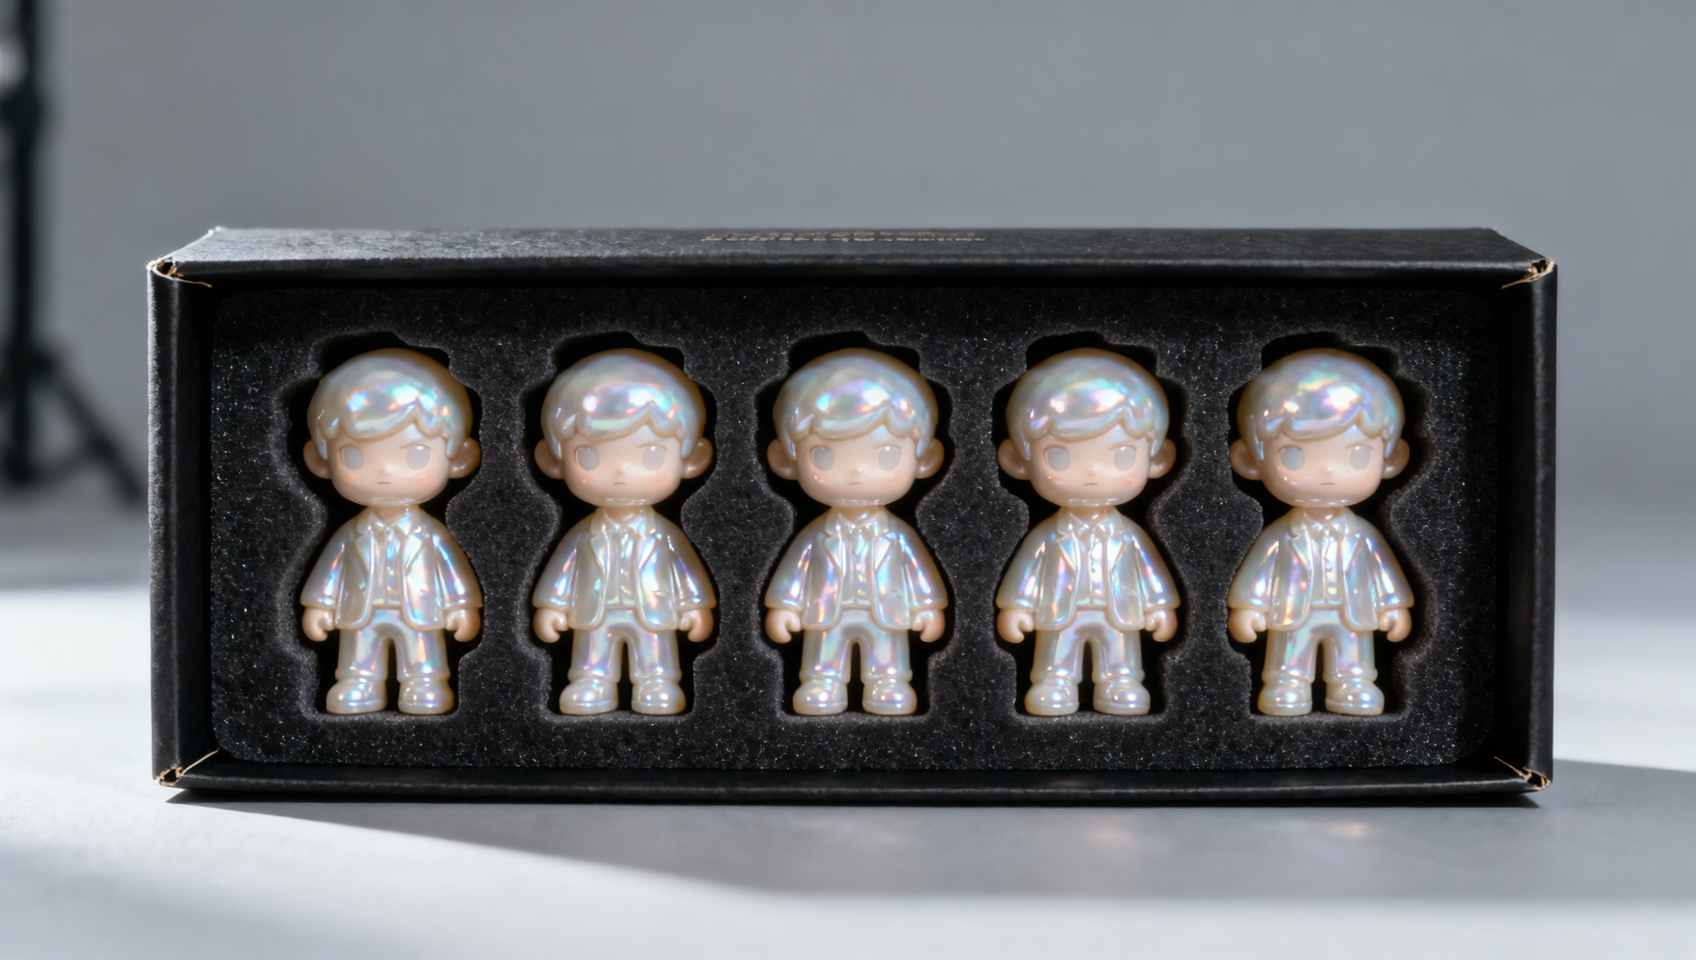
जनरेटिव AI में Character Consistency की वास्तविकता
कई जनरेशन्स across एक consistent character बनाए रखना जनरेटिव AI में सबसे कठिन चुनौतियों में से एक है। आप अपने कॉमिक या गेम के लिए एक perfect protagonist generate करते हैं, लेकिन अगला prompt उन्हें अलग आंखों, बालों या bone structure के साथ render कर देता है। यह inconsistency इमर्सन को तोड़ती है और प्रोडक्शन पाइपलाइन को खराब कर देती है।
हालांकि basic prompting आपको करीब ले जा सकता है, professional results के लिए reference parameters का उपयोग करके एक structured approach की आवश्यकता होती है। इस गाइड में, हम MidassAI Studio के भीतर उपलब्ध Midjourney V6 के --cref (Character Reference) और उभरते V7 --oref (Object Reference) capabilities का उपयोग करके character consistency के लिए पांच advanced workflows को विस्तार से समझाते हैं। ये तरीके luck से आगे बढ़कर reproducible engineering की ओर ले जाते हैं।
Core Parameters को समझें: --cref बनाम --oref
workflows में जाने से पहले, आपको अपनी उपलब्ध tools को समझना होगा। Midjourney V6 ने --cref पेश किया, जो आपको एक image URL upload करने और model को उस reference image की facial features और clothing को prioritize करने का निर्देश देने की अनुमति देता है। यह powerful है लेकिन कभी-कभी extreme pose changes के साथ संघर्ष करता है।
V7 update, जो MidassAI Studio के माध्यम से accessible है, --oref पेश करता है। जबकि --cref character identity पर focus करता है, --oref style को lock किए बिना specific object या character geometry के लिए stricter adherence की अनुमति देता है। उनका एक साथ या अलग-अलग उपयोग आपके अंतिम लक्ष्य पर निर्भर करता है।
मुख्य Syntax: यहाँ मुख्य syntax के उदाहरण दिए गए हैं:
/imagine prompt: [description] --cref [URL] --cw 100/imagine prompt: [description] --oref [URL] --v 7
--cw (Character Weight) parameter 0 से 100 तक होता है। 100 का मान face और clothing को copy करता है, जबकि 0 केवल face को copy करता है। इस slider को master करना आधी लड़ाई जीतने जैसा है।
वर्कफ़्लो 1: The Anchor Portrait Method
सबसे common failure point एक solid base के बिना शुरू करना है। Anchor Portrait workflow किसी भी variation को attempt करने से पहले एक "source of truth" image स्थापित करता है।
Step 1: अपने character का एक high-quality, well-lit portrait generate करें। सुनिश्चित करें कि face clearly visible हो और बालों या accessories से obscured न हो।
Step 2: इस image को upscale करें और इसका URL copy करें।
Step 3: सभी subsequent generations के लिए इस URL को अपने --cref source के रूप में उपयोग करें।
Prompt उदाहरण:
यहाँ एक prompt उदाहरण दिया गया है:
/imagine prompt: a cyberpunk detective standing in rain --cref https://example.com/anchor.png --cw 100 --v 6
Pitfall: अपने anchor के रूप में artifacts वाली generated image का उपयोग न करें। यदि source में छह उंगलियां या अजीब आंखें हैं, तो consistency tool those errors को propagate कर देगा। आगे बढ़ने से पहले MidassAI Studio में anchor को perfect करने के लिए समय दें।
वर्कफ़्लो 2: --sref और --cref के साथ Style Locking
Character consistency केवल face के बारे में नहीं है; यह project की visual language के बारे में है। आपको अक्सर एक specific artist या medium की style में वही character चाहिए होता है।
व्यक्ति के लिए --cref और aesthetic के लिए --sref (Style Reference) को combine करें। यह identity को rendering style से अलग करता है।
Prompt उदाहरण:
यहाँ style locking के लिए prompt उदाहरण दिया गया है:
/imagine prompt: the detective solving a case --cref https://example.com/anchor.png --sref https://example.com/noir-style.png --v 6
यह क्यों काम करता है: Style को identity से decoupling करके, आप style reference को facial features को override करने से रोकते हैं। यह graphic novels के लिए essential है जहाँ character अलग-अलग scenes में move करते समय art style static रहना चाहिए।
वर्कफ़्लो 3: Multi-Angle Turnarounds
Game developers और animators को character turnarounds (front, side, back views) की आवश्यकता होती है। "side profile" के लिए पूछने पर Standard prompting अक्सर character की identity को बदल देता है।
इसे ठीक करने के लिए, explicit pose descriptors के combined एक low --cw value का उपयोग करें।
Prompt उदाहरण:
यहाँ multi-angle के लिए prompt उदाहरण दिया गया है:
/imagine prompt: character sheet, side profile view of the detective --cref https://example.com/anchor.png --cw 10 --v 6
Technique: Character weight को 10 तक lowering करने से Midjourney को facial identity को keep करने लेकिन reference image की clothing और pose को ignore करने का निर्देश मिलता है। इससे model को character को rotate करने की अनुमति मिलती है बिना original front-facing pose को side view पर force करने की कोशिश किए। MidassAI Studio में, आप perfect rotation को quickly खोजने के लिए इन variations को batch कर सकते हैं।
वर्कफ़्लो 4: Contextual Integration
अपने consistent character को complex scenes में रखने से अक्सर model उन्हें background में blend कर देता है, lighting या environment से match करने के लिए उनकी appearance को слишком aggressively alter कर देता है।
Model के internal aesthetic bias को कम करने के लिए --style raw का उपयोग करें। यह character को scene composition के एक generic part बनने के बजाय themselves जैसा दिखने देता है।
Prompt उदाहरण:
यहाँ contextual integration के लिए prompt उदाहरण दिया गया है:
/imagine prompt: the detective running through a crowded market --cref https://example.com/anchor.png --style raw --v 6
Pro Tip: यदि character अभी भी morph होता है, तो prompt text में ही character description के weight को increase करें। Image reference के साथ-साथ visual cues को verbally reinforce करें।
वर्कफ़्लो 5: The Mass Production Pipeline
कॉमिक्स या storyboards के लिए, आपको volume की आवश्यकता होती है। यह workflow consistency को scale करने के लिए MidassAI Studio के queue management का leverage करता है।
- एक Library बनाएं: अलग-अलग lighting conditions में अपने anchor character की 5-10 variations generate करें।
- Assets को Tag करें: इन URLs को अपने Studio dashboard में organize करें।
- Batch Generate: character द्वारा hold किए गए props और items के लिए V7
--orefparameter का उपयोग करें, यह सुनिश्चित करते हुए कि वे भी consistent रहें। - Iterate: best outputs को select करें और यदि character evolve होता है (जैसे, गंदा हो जाता है, कपड़े बदलता है) तो उन्हें नए references के रूप में feed करें।
यह loop एक static image folder के बजाय एक living asset library बनाता है। यह narrative progression की अनुमति देता है जहाँ character वही दिखता है लेकिन story के wear and tear को reflect करता है।
Quick Takeaways
सामान्य गलतियां और उनसे बचने के उपाय
इन workflows के बावजूद, issues arise होते हैं। सबसे frequent complaint "face drift" है, जहाँ character 90% correct दिखता है लेकिन आंखें या jawline थोड़ा shift हो जाती हैं।
Solution: अपने text prompt की specificity को increase करें। यदि reference image में blue eyes हैं, तो prompt में "blue eyes" लिखें। Text prompt अभी भी image reference के साथ-साथ generation को influence करता है।
एक अन्य issue clothing bleed है। यदि आपके reference character ने लाल जैकेट पहना है, तो subsequent generations उन्हें लाल जैकेट में force कर सकते हैं भले ही आप उन्हें swimwear में चाहते हों।
Solution: --cw को 0 पर drop करें। यह face को isolate करता है। आपको reference के attire को override करने के लिए नई clothing को text prompt में विस्तार से describe करना होगा।
MidassAI Studio में अपने Production को Scale करें
एक standard Discord environment में dozens of reference URLs और prompt variations को manage करना chaotic हो सकता है। MidassAI Studio इन assets को handle करने के लिए एक structured interface प्रदान करता है। आप अपने anchor images को store कर सकते हैं, अपने --cref links को manage कर सकते हैं, और project folders द्वारा generations को organize कर सकते हैं।
जब --oref जैसे V7 features के साथ काम करते हैं, तो Studio environment यह सुनिश्चित करता है कि आपके पास correct model version selected है बिना हर बार specific version flags को याद करने की आवश्यकता के। यह friction को कम करता है और आपको syntax debugging के बजाय creative output पर focus करने की अनुमति देता है।
Consistency पर अंतिम विचार
Character consistency एक single prompt trick नहीं है; यह एक pipeline है। इसमें एक strong anchor स्थापित करना, यह समझना कि weights identity बनाम clothing को कैसे affect करते हैं, और यह जानना कि V6 और V7 parameters के बीच कब switch करना है, शामिल है। इन पांच workflows को implement करके, आप random images generate करने से cohesive visual assets produce करने की ओर बढ़ते हैं।
आज ही अपनी anchor library बनाना शुरू करें। यह देखने के लिए कि आपके पास output पर वास्तव में कितना control है, --cw 100 और --cw 0 के बीच के difference को test करें।
अपने generative workflow को streamline करने के लिए तैयार हैं? latest V7 features को access करें और अपने character references को efficiently manage करें।