
Midjourney Miniature Guide: Tilt-Shift aur Macro Effects
Midjourney AI Team · 23 जुलाई 2026 · 8 min read
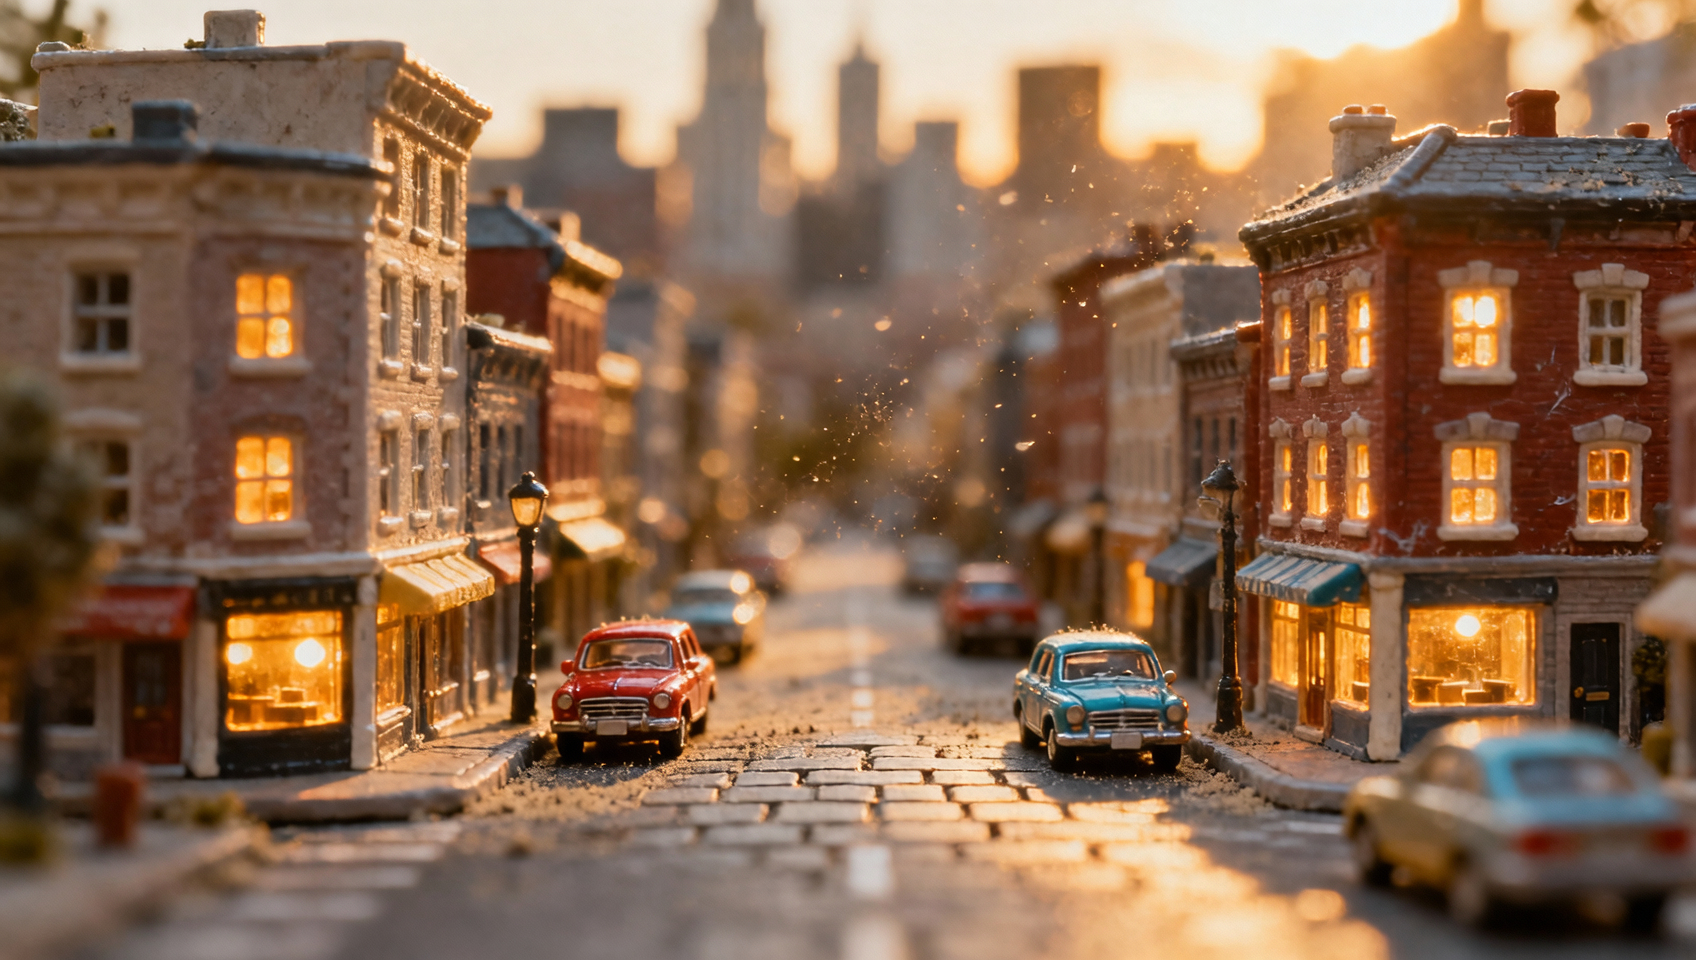
Midjourney में Miniature Aesthetic को Master करना
मिनीचर फोटोग्राफी में एक खास आकर्षण होता है जो नॉस्टल्जिया और आश्चर्य की भावना जगाता है। चाहे वह सॉफ्ट स्ट्रीटलाइट्स के नीचे चमकता हुआ एक छोटा शहर हो या काई लगी चट्टान पर बैठा एक प्यारा जानवर का पुतला, "tilt-shift" लुक depth of field को manipulate करता है ताकि real-world scenes खिलौनों जैसे दिखें। इस इफेक्ट को generatively recreate करने के लिए सिर्फ अपने prompt में "small" शब्द जोड़ना काफी नहीं है। इसके लिए optical simulation, lighting ratios, और specific Midjourney parameters की समझ जरूरी है जो focus और texture को control करते हैं।
यह गाइड MidassAI Studio पर Midjourney का उपयोग करके high-fidelity miniature scenes generate करने के exact formula को समझाती है। हम generic advice से आगे बढ़ेंगे और उन technical levers पर focus करेंगे जिन्हें आप scale, blur, और material realism को control करने के लिए pull कर सकते हैं।
यह Workflow किसके लिए है
यह ट्यूटोरियल उन creators के लिए डिज़ाइन किया गया है जिन्हें physical photoshoots organize किए बिना consistent, stylized imagery की आवश्यकता है। विशेष रूप से, यह दृष्टिकोण इनके लिए फायदेमंद है:
- E-commerce Designers: ऐसे product mockups बनाना जो collectible figures जैसे दिखें।
- Content Creators: ऐसे unique thumbnails या wallpapers generate करना जो अपनी depth की वजह से अलग दिखें।
- Concept Artists: playful, diorama-like quality के साथ environments को visualize करना।
- Social Media Managers: सुकून देने वाला कंटेंट (healing/comforting content) बनाना जो visual platforms पर अच्छा perform करता है।
अगर आप full-scale reality की नकल करने वाला photorealism ढूंढ रहे हैं, तो यह गाइड आपके लिए नहीं है। हालांकि, अगर आप reality को stylize करके कुछ tangible yet small बनाना चाहते हैं, तो नीचे दिया गया framework आपकी प्रक्रिया को streamline करेगा।
Quick Takeaways
Tilt-Shift Effects के लिए Prompt Formula
Miniature look को achieve करना AI को धोखा देने (deceiving) पर निर्भर करता है ताकि वह shallow depth of field render करे। असली फोटोग्राफी में, यह tilt-shift lens या wide aperture वाले macro lens से किया जाता है। Midjourney में, हम इसे specific keyword clustering के माध्यम से replicate करते हैं।
base structure इस क्रम का पालन करना चाहिए: Subject + Environment + Lighting + Camera Simulation + Style Modifiers.
Subject के लिए, materials के बारे में specific रहें। Miniature models में अक्सर plastic, resin, या painted ceramic जैसे specific textures होते हैं। इसलिए polymer clay, die-cast metal, या painted figurine जैसे descriptors का उपयोग करें।
Environment के लिए, context scale imply करता है। सोफे पर बैठी बिल्ली normal लगती है। थिम्बल पर बैठी बिल्ली miniature लगती है। scale को enforce करने के लिए props का उपयोग करें, जैसे giant mushrooms, matchbox houses, या oversized books।
Camera Simulation के लिए, यह सबसे critical component है। आपको optical effect को explicitly state करना होगा। Essential keywords में tilt-shift photography, macro lens, shallow depth of field, और bokeh शामिल हैं। मॉडल द्वारा miniature faking शब्द को भी stylistic cue के रूप में recognize किया जाता है।
Lighting के लिए, miniature scenes अक्सर soft, diffused light से benefit करती हैं जो studio setups की नकल करती हैं। controlled environment के illusion को sell करने में softbox lighting, volumetric fog, और warm ambient glow जैसे terms मदद करते हैं न कि chaotic reality।
Scale और Quality के लिए Parameter Tuning
केवल keywords अक्सर ऐसी images का结果 देते हैं जो blur filter लगी regular photos लगती हैं। इस effect को generation process में truly integrate करने के लिए, आपको Midjourney parameters का leverage उठाने की जरूरत है।
Aspect Ratio (--ar)
Miniature scenes अक्सर square या 4:3 formats में best work करती हैं, जो classic toy photography या instant film की नकल करती हैं। --ar 4:3 या --ar 1:1 try करें। dioramas के लिए 16:9 जैसे wider aspect ratios work कर सकते हैं लेकिन central subject पर focus को dilute कर सकते हैं।
Stylize (--s)
stylize value को moderate रखें। High stylization artistic aberrations introduce कर सकती है जो materials की realism को break कर देती हैं। 100 और 250 के बीच की value image को grounded रखती है जबकि aesthetic enhancement की अनुमति देती है।
Style Raw (--style raw)
यह lighting control के लिए crucial है। जब आप plastic materials पर rim lighting या subsurface scattering जैसी specific lighting conditions चाहते हैं, तो --style raw Midjourney के default beauty filters को reduce करता है। यह आपके prompt के lighting instructions को precedence लेने देता है, जिससे more accurate material representation result होता है।
Version (--v 7)
हमेशा MidassAI Studio में available latest version का aim करें। Newer models spatial relationships और lighting physics को better understand करते हैं। अभी के लिए, --v 7 earlier iterations की तुलना में complex depth cues की superior handling offer करता है।
Concrete Prompt Examples
यहाँ दो distinct examples हैं जिन्हें आप immediately test कर सकते हैं। ध्यान दें कि material descriptors और camera settings कैसे interact करते हैं।
Example 1: The Cozy Room Diorama
यहाँ prompt दिया गया है:
Prompt:
a cozy miniature bedroom inside a glass jar, tiny bed with knitted blanket, soft warm lamp light, dust motes dancing in light, tilt-shift photography, macro lens, f/2.8, shallow depth of field, bokeh background, polymer clay texture, isometric view --ar 4:3 --style raw --v 7
Example 2: The Forest Creature
यहाँ prompt दिया गया है:
Prompt:
a cute hedgehog figurine sitting on a mossy stone, giant acorn nearby, forest floor background, soft natural sunlight, dappled light, miniature effect, tilt-shift, macro photography, highly detailed resin texture, cinematic lighting --ar 3:2 --s 200 --v 7
जब इन्हें MidassAI Studio में run करें, तो four variations का grid generate करें। subject के edges को closely देखें। अगर blur artificial या digital लगता है, तो prompt में optical blur जोड़ें। अगर textures too real लगते हैं (plastic की जगह fur जैसे), तो toy material या figurine जोड़ें।
Downstream Applications और Workflow
एक बार जब आप अपनी base image generate कर लेते हैं, तो utility static posts से आगे बढ़ जाती है। miniature aesthetic different media formats में highly versatile है।
AI Image Applications primary use case static content है। ये images e-commerce hero images के रूप में exceptionally well perform करती हैं क्योंकि "toy" aesthetic visual clutter को reduce करती है और attention को subject पर focus करती है। ये mobile devices के लिए excellent wallpapers के रूप में भी serve करती हैं, जहां vertical aspect ratio depth of field को complement करता है।
AI Video Integration आप external AI video tools का उपयोग करके इन static generations को animate कर सकते हैं। क्योंकि miniature scenes में अक्सर simple, contained movements होते हैं (जैसे blinking light या falling snow), ये motion में well translate होती हैं। looping cinemagraphs बनाने के लिए अपनी Midjourney generation को image-to-video model में input करें। shallow depth of field minor motion artifacts को mask करने में मदद करता है जो अक्सर AI video को plague करते हैं।
AI Music और Atmosphere multimedia projects के लिए, इन visuals को lo-fi या ambient audio के साथ pair करें। miniature style की visual nostalgia naturally chill-hop या acoustic tracks के साथ pair होती है। यह combination relaxation apps या streams के लिए background content के लिए effective है।
AI Tool Ecosystem इस workflow को बड़े pipeline में integrate करें। base generation के लिए MidassAI Studio का उपयोग करें, फिर print resolution के लिए upscaling tools employ करें। आप पूरे scene को regenerate किए बिना diorama के अंदर specific elements को swap करने के लिए inpainting tools का भी उपयोग कर सकते हैं, जिससे images की एक series में consistency maintain रहती है।
बचने के लिए Common Pitfalls
सही formula के बावजूद, errors occur होते हैं। सबसे common issue scale ambiguity है। अगर AI को यह सुनिश्चित नहीं है कि subject कितना बड़ा है, तो वह human scale पर default हो जाएगा। perspective को anchor करने के लिए हमेशा known size के reference object को include करें, जैसे coin, pencil, या hand।
एक और pitfall excessive blur है। हालांकि depth of field key है, main subject को blur करना image को ruin कर देता है। सुनिश्चित करें कि आपका prompt blur commands के साथ sharp focus on subject specify करता है। अगर background too busy है, तो यह miniature effect से distract करता है। background description को blurred neutral background या soft bokeh तक simplify करें।
अंत में, inconsistent lighting से बचें। Miniature scenes आमतौर पर controlled environments में shot की जाती हैं। अगर आपका prompt natural sunlight को neon studio lights के साथ mix करता है, तो shadows conflict करेंगे, जिससे illusion break हो जाएगा। एक primary light source description पर stick करें।
अंतिम विचार
Midjourney में convincing miniature imagery बनाना perception को control करने के बारे में है। specific material keywords को optical parameters के साथ combine करके, आप ऐसे scenes generate कर सकते हैं जो tactile और intimate feel होते हैं। key iteration है; शायद ही कभी first grid perfection hit करता है। output के आधार पर अपने lighting descriptors और material tags को adjust करें जब तक कि scale right न लगे।
latest models और parameters तक access के साथ streamlined experience के लिए, हमारे partner platform के माध्यम से available dedicated workspace का उपयोग करें।
आज ही अपने miniature worlds बनाना शुरू करने के लिए MidassAI Studio में Midjourney Try करें।