
Midjourney Alpha Editor: Lightbox Workflow Guide
Midjourney AI Team · September 12, 2026 · 6 min read
Keywords: midjourney alpha editor, midjourney lightbox editor, midjourney v8.2 edit
Published: September 12, 2026 Author: Midjourney AI Team
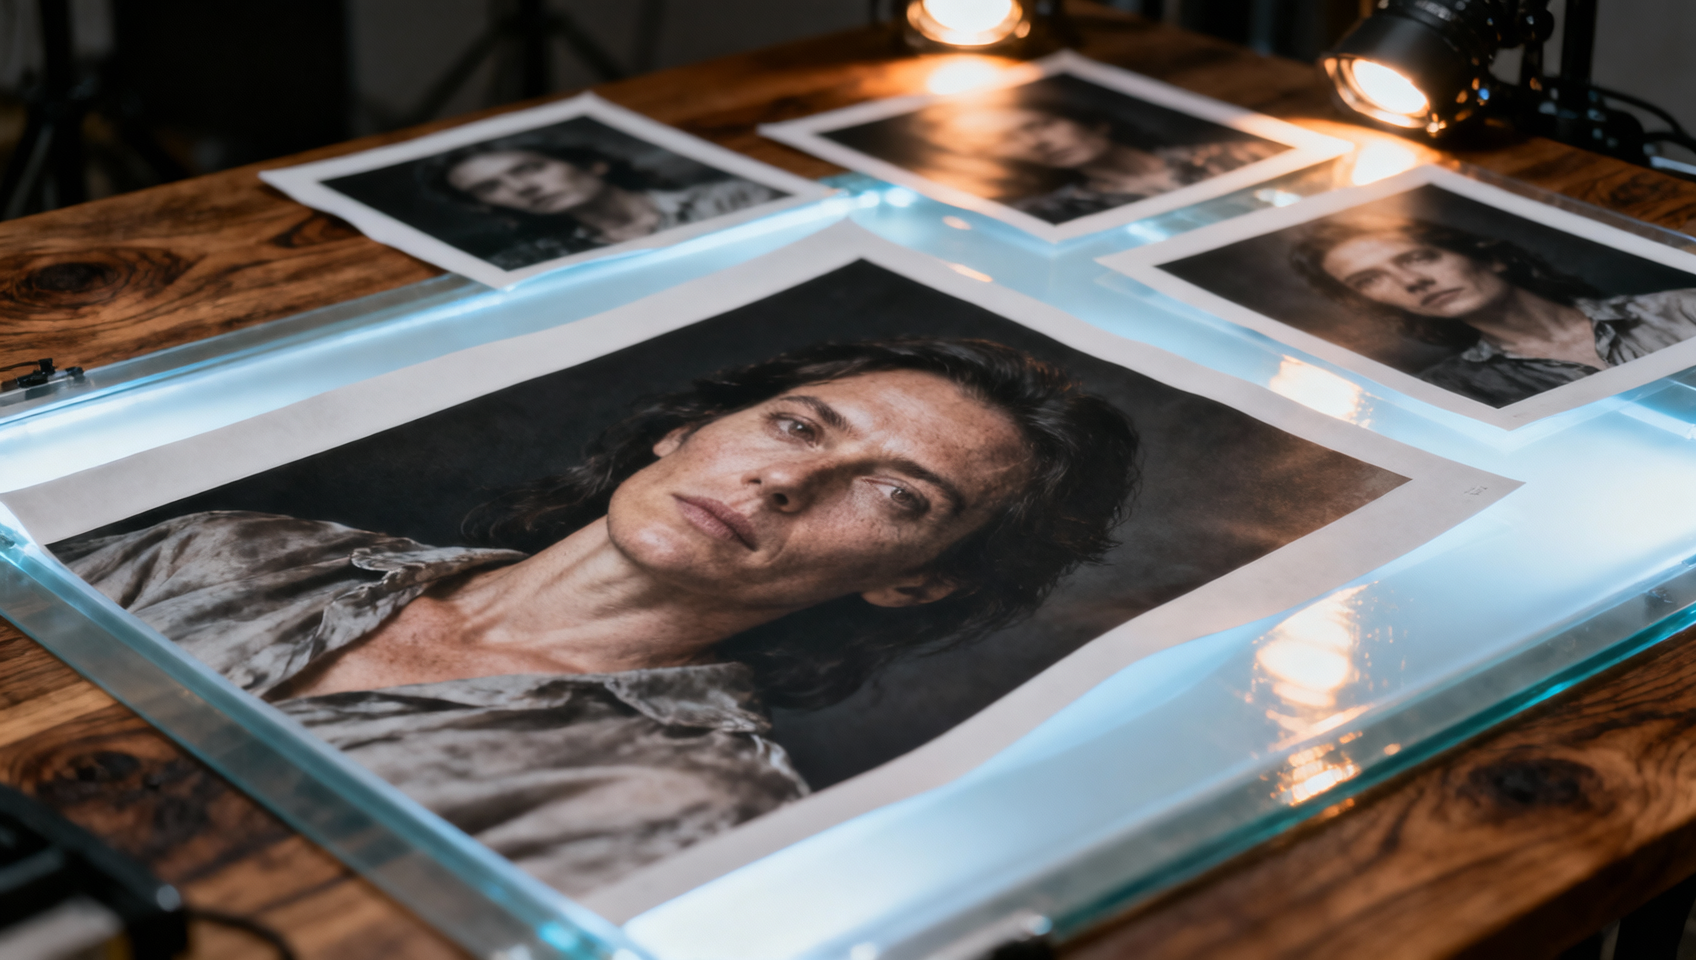
Midjourney’s Alpha editor now puts the V8.2 edit model inside the image lightbox. You can open one image, describe a change in plain language, attach up to four references, and review the edit history in the same session. The update makes editing easier to find, but good results still depend on a controlled workflow. This guide shows how to test the editor without losing the image qualities you already like.
Midjourney announced the lightbox workflow in its September 3 Alpha changelog. Alpha features can change quickly, so treat the interface names in this guide as current rather than permanent. The useful part is the process: lock a base image, change one variable, compare the result, and keep a record of the instruction that worked.
What changed in the Alpha lightbox
The main change is context. Earlier editing flows often pushed you between a gallery, a separate editor, and a new prompt. The Alpha lightbox keeps the selected image and its edits together. That reduces the chance of editing the wrong variation or forgetting which image started the sequence.
The V8.2 edit model accepts normal instructions. Instead of rebuilding the full generation prompt, you can ask for a focused change such as “replace the afternoon light with cool window light” or “change the jacket to dark green wool.” You can also attach as many as four reference images. Each reference should have a clear job, such as subject identity, product shape, color palette, or lighting.
This is not a guarantee that four references will outperform one. More references can introduce competing signals. Start with the smallest reference set that expresses the change, then add another only when the first test misses an important constraint.
Prepare a strong base image
A clean base image gives the editor less to repair. Before opening the lightbox, choose a frame with correct composition, readable subject boundaries, and believable lighting. Minor color or material issues are fine. Major anatomy problems, merged objects, or unclear perspective often become harder to fix after several edits.
Save the original image outside the edit session. Give it a practical name such as campaign-chair-base-01. If the editor produces a promising branch, save that branch under a new name instead of replacing the original. This simple habit prevents a long edit chain from becoming your only copy.
For a broader overview of the model, read our Midjourney V8 Edit Model guide. If you need region selection and canvas expansion, the inpaint and outpaint tutorial covers those tools in more detail.
Write one-change edit instructions
The best first instruction changes one visible property. Name the target, the requested change, and one condition that must stay fixed. For example:
Change the ceramic mug to brushed steel. Keep its size, camera angle, handle position, and the existing morning light.
This structure gives the model a clear action and a preservation list. It also makes failure easier to diagnose. If the mug changes but the camera angle moves, your next instruction can reinforce the composition instead of rewriting the whole scene.
Avoid stacking five creative decisions into one sentence. A request to change the subject, background, lighting, lens, and art direction creates many valid interpretations. Split that request into stages. First fix the subject, then the setting, then the finishing style. Stop when an edit reduces quality; return to the last strong image rather than asking a weak branch to recover.
Assign a role to every reference
Reference images work best when you know why each one is present. A four-reference pack might include:
- The approved product photographed from the target angle.
- A material close-up that shows surface texture.
- A lighting reference with the desired shadow direction.
- A color reference with the final campaign palette.
Do not add four attractive images merely because the editor allows four. If two references disagree about shape or lighting, the output may average them. Test the identity or product reference first. Add the material reference next, then lighting and color only if needed.
When a result drifts, remove references before adding prompt detail. A shorter prompt with one decisive reference can be more stable than a long prompt with four ambiguous images. Our four-image reference tutorial provides a structured test for comparing one, two, and four inputs.
Review edits as a contact sheet
Do not judge a result only by whether it looks impressive. Compare it with the base image across five checks: subject identity, composition, material detail, light direction, and unwanted changes. Record each check as pass, acceptable, or fail.
Zoom in before approving hands, faces, product edges, labels, and repeated patterns. These areas often reveal damage that is invisible in a small gallery tile. Also compare the background. A successful wardrobe edit can quietly move furniture, change a window, or soften an important brand color.
Keep the instruction next to the selected image. MidassAI Studio can serve as the project record for base images, reference packs, and successful prompt wording. A compact record helps a teammate reproduce the edit without searching through a long session.
A practical three-pass workflow
Use three passes for client or campaign work. In the first pass, explore. Run two or three short instructions and look for the direction that preserves the base. In the second pass, control. Use the strongest result and fix one remaining issue with a smaller reference set. In the third pass, verify. Inspect the full-resolution file and compare it with the brief.
If the result still needs many corrections after the control pass, generate a better base image. Editing is valuable when it protects approved composition or identity. It becomes expensive when every fix creates two new problems.
Current limits to remember
Midjourney describes Alpha as an active testing surface. Buttons can move, errors can appear, and behavior may change between sessions. The company also says it is still refining drag-and-drop behavior, prompt pills, retained settings, and error handling. Check the official changelog before documenting a permanent team process.
The editor also cannot replace final production checks. Confirm text, packaging claims, logos, anatomy, and legal brand assets in a conventional design tool. Use generative editing for visual exploration and controlled scene changes, then use deterministic tools for exact marks and copy.
The takeaway
The Midjourney Alpha editor is most useful when you treat it as a versioned editing workspace, not a one-click repair tool. Start from a clean image, request one change, give every reference a job, and compare each branch against the same checklist. That process turns the new lightbox into a reliable creative loop while the Alpha interface continues to evolve.
Try Midjourney in MidassAI Studio to organize your base images, reference packs, and approved edit instructions in one project.