
storyboard
From Midjourney to Short Film AI Storyboard Practice
Midjourney AI Team · July 23, 2026 · 6 min read
Keywords: midjourney storyboard, ai short film, cinematic prompts
Published: July 23, 2026 Author: Midjourney AI Team
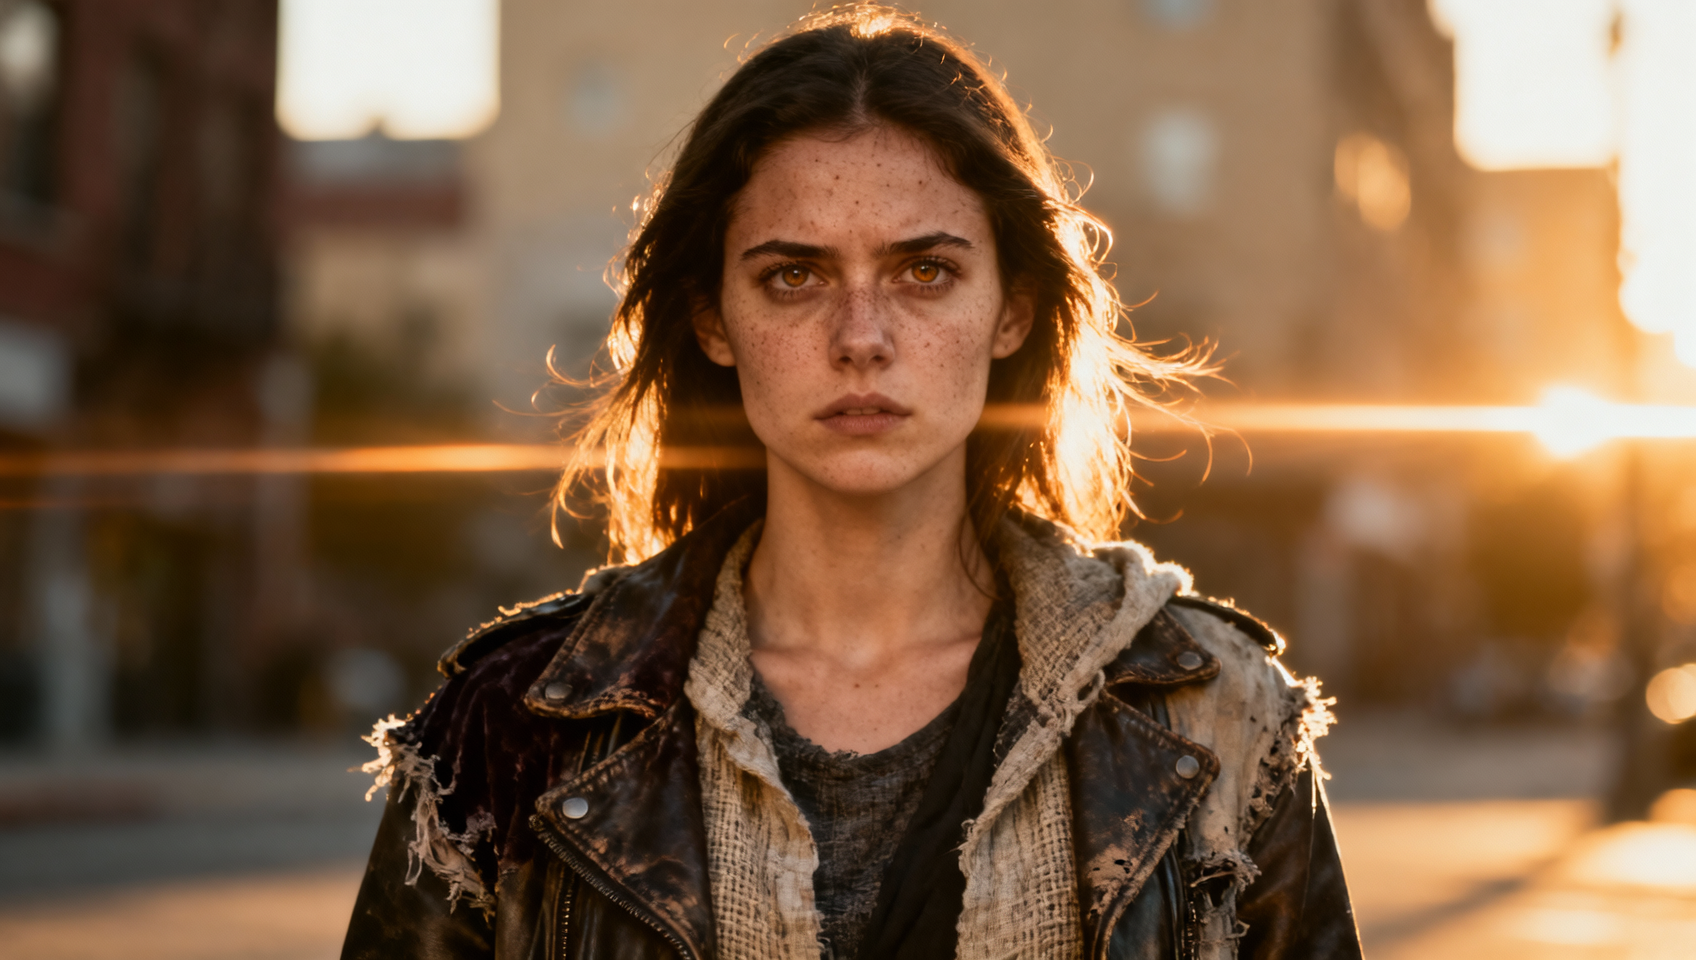
Bridging Static Art and Cinematic Vision
The gap between generating a single stunning image and producing a coherent short film is where most creators stall. You might have a folder full of beautiful Midjourney renders, but without a unified visual language, they remain isolated assets rather than a narrative sequence. The transition from static generation to storyboard practice requires a shift in mindset. You are no longer just prompting for aesthetics; you are prompting for continuity, camera logic, and pacing.
This workflow focuses on utilizing Midjourney not as a final output engine, but as a pre-visualization tool. By locking down aspect ratios, style references, and character consistency early, you create a solid foundation for downstream AI video and audio tools. The goal is to move from random generation to intentional direction.
Who This Is For
This guide is designed for independent filmmakers, content creators, and concept artists who need to visualize scenes before committing to production. It is particularly useful for those planning animation trailers or short films where budget constraints limit traditional pre-vis methods. If you are struggling with character consistency across shots or need to establish a specific cinematic look quickly, this workflow addresses those pain points directly.
The Core Storyboard Workflow
A functional AI filmmaking pipeline relies on structure. Jumping straight into video generation often yields inconsistent results. Instead, adopt a linear progression: establish the visual style with still images, animate the key frames, and finally layer the soundscape.
- AI Image: Generate keyframes using Midjourney with strict parameter controls.
- AI Video: Animate those keyframes using image-to-video models.
- AI Music: Generate score and sound effects to match the pacing.
- AI Tools: Assemble everything in an editor or dedicated studio environment.
This hierarchy ensures that your video generation starts with high-quality source material. Poorly composed static images rarely translate into coherent motion. By treating the Midjourney phase as your "shoot," you maintain control over lighting and composition before introducing the volatility of motion synthesis.
Mastering Composition and Consistency
The difference between a random image and a storyboard frame lies in the parameters. For cinematic work, the default square ratio is rarely sufficient. You need to dictate the lens and the frame.
Aspect Ratio and Style Raw
Start by setting the aspect ratio to match your final output. For most web-based shorts or trailers, --ar 16:9 is standard. If you are targeting mobile-first platforms, --ar 9:16 is necessary. Using the --style raw parameter is critical here. It reduces Midjourney's default aesthetic beautification, allowing for more literal interpretations of your prompt. This is vital for storyboards where specific blocking matters more than artistic flair.
Example Prompt:
/imagine prompt: cinematic shot of a detective standing in rain, neon signs reflecting on pavement, low angle --ar 16:9 --style raw --v 6.1
Character Reference for Continuity
The biggest hurdle in AI filmmaking is keeping the protagonist looking the same across different shots. Midjourney's --cref (Character Reference) parameter solves this. Generate a master sheet of your character first. Once you have a URL for a character face you like, use that URL in subsequent prompts.
Workflow:
- Generate a character sheet:
/imagine prompt: character sheet of a cyberpunk hacker, white background --v 6.1 - Upscale and copy the image link.
- Apply to scene prompts:
/imagine prompt: hacker typing at terminal, dark room --cref [URL] --cw 10
Setting --cw (Character Weight) to 10 focuses the reference strictly on the face, allowing you to change clothing or lighting without altering the identity. This level of control is non-negotiable for narrative work.
From Static Boards to Motion
Once your storyboard frames are locked, the next phase is animation. Tools like Luma Dream Machine or Runway Gen-3 can take your Midjourney stills and add motion. However, the quality of that motion depends on the clarity of your static image.
If your Midjourney image has ambiguous lighting or messy edges, the video model will hallucinate movement in those areas. Ensure your storyboards have clear subjects and distinct backgrounds. When prompting for video, use the storyboard image as the input rather than text-only generation. This preserves the composition you spent time refining in Midjourney.
Soundscapes and Final Assembly
Visuals are only half the experience. AI music generators like Suno or Udio can create tracks based on the mood of your storyboard. Tag your scenes with emotional descriptors (e.g., "tense," "uplifting," "cyberpunk") to generate matching audio.
Syncing is key. If your storyboard indicates a cut every three seconds, your music should have beats or transitions that align with those edits. Do not treat audio as an afterthought; it dictates the pacing of your visual cuts.
Why Use MidassAI Studio
Managing these disparate tools can become fragmented. You might have Midjourney open in one tab, a video generator in another, and your assets scattered across local folders. MidassAI Studio consolidates this workflow. By accessing Midjourney directly within the studio environment, you can organize generations, manage references, and streamline the handoff to video tools.
Quick Takeaways
Common Pitfalls to Avoid
Even with the right parameters, errors happen. A common mistake is over-relying on --stylize. High stylization values can drift away from your prompt's specific instructions, breaking continuity between shots. Keep --s values moderate (around 100-250) for storyboards.
Another pitfall is ignoring lighting consistency. If shot one is lit with warm sunlight and shot two is cool neon, the film will feel disjointed unless the narrative justifies the change. Use style references (--sref) to lock in a color grade across your entire sequence. Generate one "look" image that defines the color palette, then apply that URL to all subsequent storyboard prompts.
Final Thoughts
AI filmmaking is not about pressing a single button. It is about curating a sequence of intentional choices. Midjourney serves as the camera department, allowing you to shot-list and visualize before a single frame of video is rendered. By mastering parameters like --ar, --cref, and --style raw, you gain the directorial control necessary for professional output.
Stop treating AI generators as toy boxes and start treating them as production suites. Your workflow improves when you respect the hierarchy of production: story, visual, motion, sound.
Ready to streamline your production pipeline? Access the full power of Midjourney integrated with professional workflow tools.