
midjourney
How to Create Cyberpunk Neon Cities in Midjourney | Complete Prompt Guide
Midjourney AI Team · July 23, 2026 · 6 min read
Keywords: midjourney cyberpunk prompt, neon city ai art, midjourney v7 settings
Published: July 23, 2026 Author: Midjourney AI Team
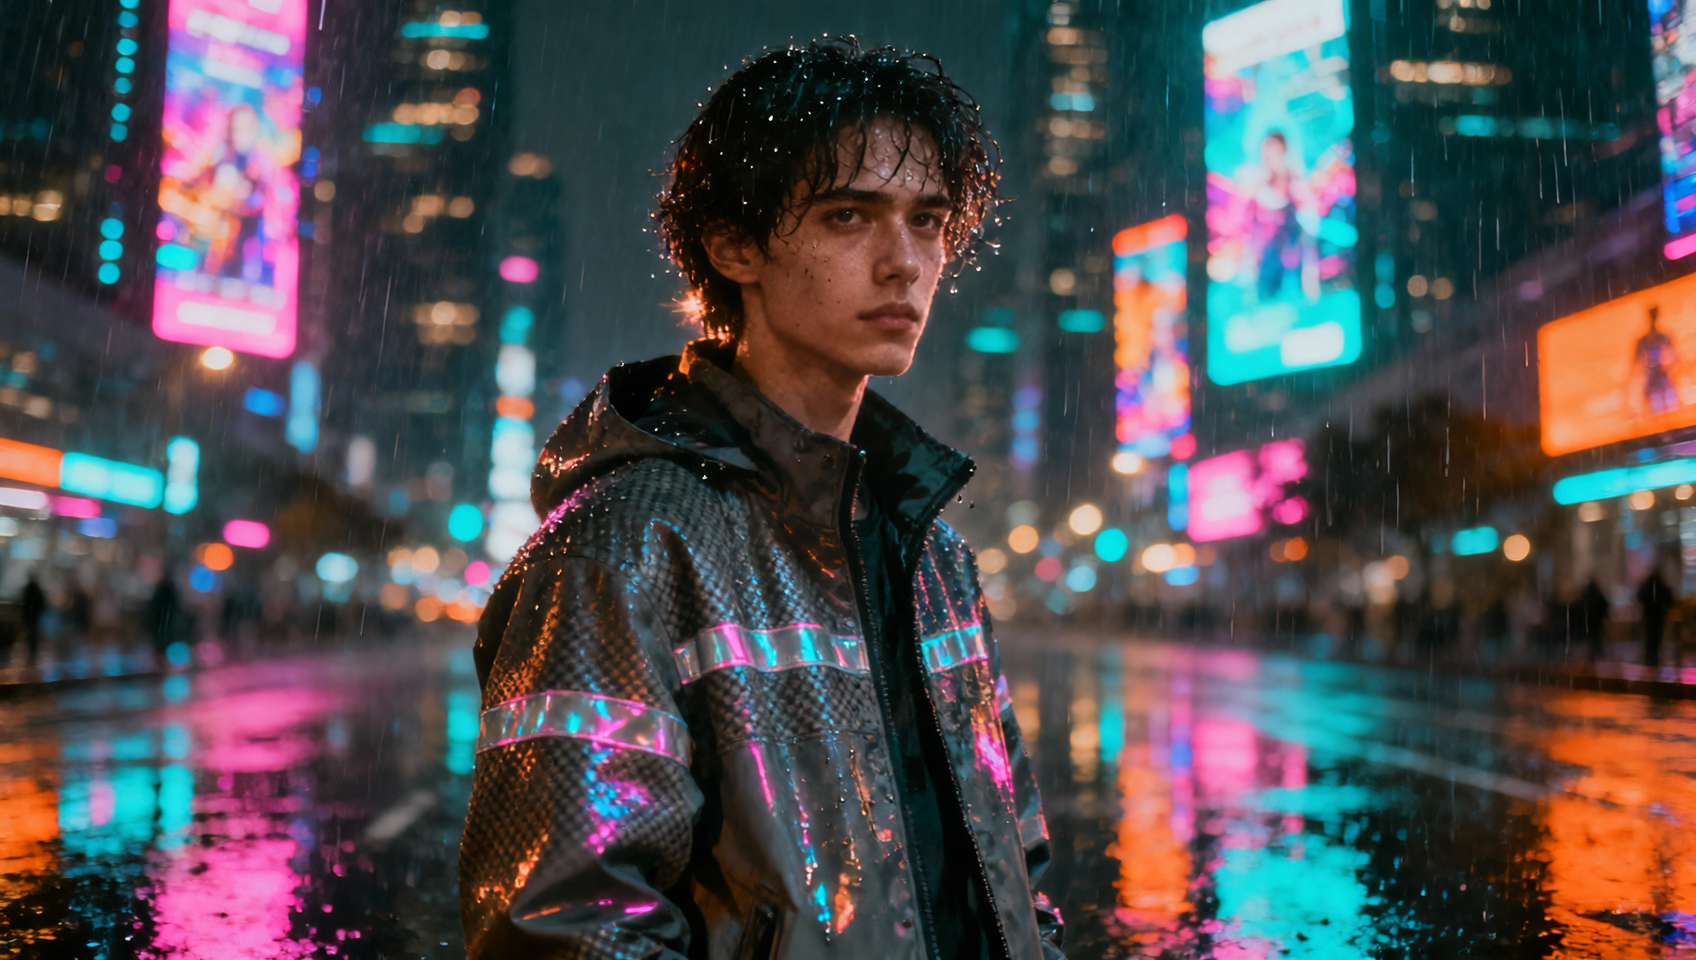
Why Cyberpunk Aesthetics Thrive in Midjourney
Cyberpunk is more than just a genre; it is a visual language defined by high contrast, saturated lighting, and complex textures. For AI image generators, this style presents a unique opportunity. Midjourney excels at interpreting light behavior, particularly how neon sources interact with reflective surfaces like wet pavement, glass, and chrome. When you request a "rainy night" scenario, the model understands the physical properties of refraction and diffusion better than most other styles.
This guide breaks down the specific lexical components required to build convincing cyberpunk environments. We are not just throwing keywords at the wall; we are constructing a lighting model through text. Whether you are building a background for a game concept or creating standalone art, understanding the hierarchy of light, architecture, and camera settings will elevate your output from generic sci-fi to atmospheric narrative. You can test these workflows directly in MidassAI Studio Midjourney to streamline your generation process without leaving your browser.
Quick Takeaways
Mastering Color and Light Dynamics
The backbone of any cyberpunk image is the lighting scheme. A common mistake is over-saturating the prompt with color names without defining the light source. Midjourney responds better when you describe the emission of light rather than just the hue. Instead of simply writing "pink and blue," specify "neon pink signage reflecting on wet asphalt" or "cyan volumetric fog cutting through darkness."
Core lighting keywords should focus on temperature and intensity. Terms like bioluminescent, hard lighting, and rim light help separate subjects from the background. For the classic cyberpunk palette, rely on complementary contrasts. Magenta and teal remain the industry standard because they create immediate visual tension. However, introducing a third accent color, such as acidic yellow or deep orange, can prevent the image from looking too monotone.
When using Midjourney v7, leverage the --style raw parameter. This reduces the model's tendency to beautify the image excessively, allowing for grittier, more realistic lighting scenarios that fit the dystopian theme. A prompt fragment like cinematic lighting, volumetric fog, heavy rain, neon glow establishes the atmospheric baseline before you even describe the subject matter.
Architectural Elements and Street Props
Once the lighting is established, the physical environment needs to support the narrative. Cyberpunk architecture is a blend of brutalist concrete and high-tech overlays. You want structures that feel lived-in and oppressive. Keywords like megastructure, dense urban sprawl, and layered buildings help Midjourney understand the scale. Avoid clean, sterile sci-fi terms; instead, use weathered metal, exposed piping, and graffiti-covered walls.
Props are essential for storytelling. A street without life feels like a render; a street with vendors, cables, and debris feels like a world. Incorporate elements like holographic advertisements, street food stalls, floating drones, and tangled power lines. These details add depth and give the eye places to rest beyond the main focal point.
Material definitions are crucial for realism. Specify surfaces to ensure the light interacts correctly. Use wet pavement, polished chrome, frosted glass, and rusted steel. When you combine wet pavement with neon reflection, Midjourney calculates the ray tracing effect, creating those signature streaks of color on the ground that define the genre. This level of material specificity is where the difference between a good image and a great image lies.
Composition and Camera Language
The way you frame the shot dictates the emotional impact. A wide-angle lens emphasizes the scale of the architecture, making the human element feel small and insignificant—a core theme of cyberpunk. Conversely, a telephoto lens with a shallow depth of field can isolate a character against the chaotic background, creating intimacy amidst the noise.
Use camera parameters to control this. The --ar 16:9 aspect ratio is ideal for cinematic cityscapes, while --ar 4:5 works better for portrait-oriented character studies. In your prompt, specify lens types like 35mm lens for street photography vibes or 85mm lens for portraits. Add depth of field and bokeh to blur out distant neon lights, turning them into soft orbs that enhance the atmosphere without distracting from the subject.
Composition keywords like low angle shot, dutch angle, or symmetrical composition guide the AI's framing. A low angle shot looking up at a skyscraper enhances the feeling of oppression and scale. Always consider where the viewer's eye should travel first. In a busy neon city, leading lines created by streets or pipes can guide the eye toward the focal point, preventing the image from feeling cluttered.
Four Copy-Paste Prompt Cases
Below are four distinct scenarios optimized for Midjourney v7. These prompts include specific parameters to ensure consistency. You can adjust the seed or stylize values based on your preference, but these serve as robust starting points.
Case 1: Rainy Neon Street (Cover Art Direction)
This prompt focuses on environmental storytelling with heavy emphasis on reflections and atmosphere.
/imagine prompt: rainy cyberpunk street at night, wet asphalt reflecting magenta and cyan neon signs, towering megastructures in background, steam rising from vents, solitary figure with umbrella, cinematic lighting, volumetric fog, photorealistic, 8k --ar 16:9 --style raw --v 7 --s 250
Case 2: Alleyway Narrative (Street Vendors)
Here we focus on props and human elements within a confined space to create a sense of clutter and life.
/imagine prompt: narrow cyberpunk alleyway, street food vendor with holographic menu, hanging cables, puddles on ground, warm orange light contrasting with cool blue shadows, detailed textures, rusted metal walls, bustling atmosphere --ar 3:2 --style raw --v 7 --s 300
Case 3: Neon Portrait (Close-Up Emotion)
This case isolates a character to test lighting on skin tones and background bokeh.
/imagine prompt: close-up portrait of a cyberpunk mercenary, neon rain lights reflecting on face, wet skin texture, glowing cybernetic eye implant, dark background with blurred city lights, bokeh, dramatic rim lighting, intense expression --ar 4:5 --style raw --v 7 --s 150
Case 4: Skyline World Building (Wide Shot)
Designed for establishing shots that show the scale of the city itself.
/imagine prompt: futuristic city skyline at night, massive skyscrapers piercing clouds, giant holographic advertisements floating between buildings, flying vehicles with light trails, dense urban layering, epic scale, wide angle lens --ar 21:9 --style raw --v 7 --s 400
Refining Your Workflow in MidassAI Studio
Generating the image is only the first step. To truly integrate these assets into a project, you need a workflow that allows for iteration and management. MidassAI Studio Midjourney provides a centralized environment to manage these generations. Instead of juggling Discord commands, you can organize your variations, upscale specific regions, and maintain a library of your best cyberpunk assets.
When you encounter a prompt that yields excellent lighting but poor composition, do not discard it. Use the image as a style reference (--sref) for subsequent generations. This allows you to lock in the color grading while changing the subject matter. Consistency is key for world-building, and leveraging reference images ensures your neon city feels like a cohesive universe rather than a collection of random shots. Start experimenting with these prompts today to build your own dystopian worlds.