
Midjourney Niji 7 Guide: Complete Anime Creation Tutorial
Midjourney AI Team · July 23, 2026 · 7 min read
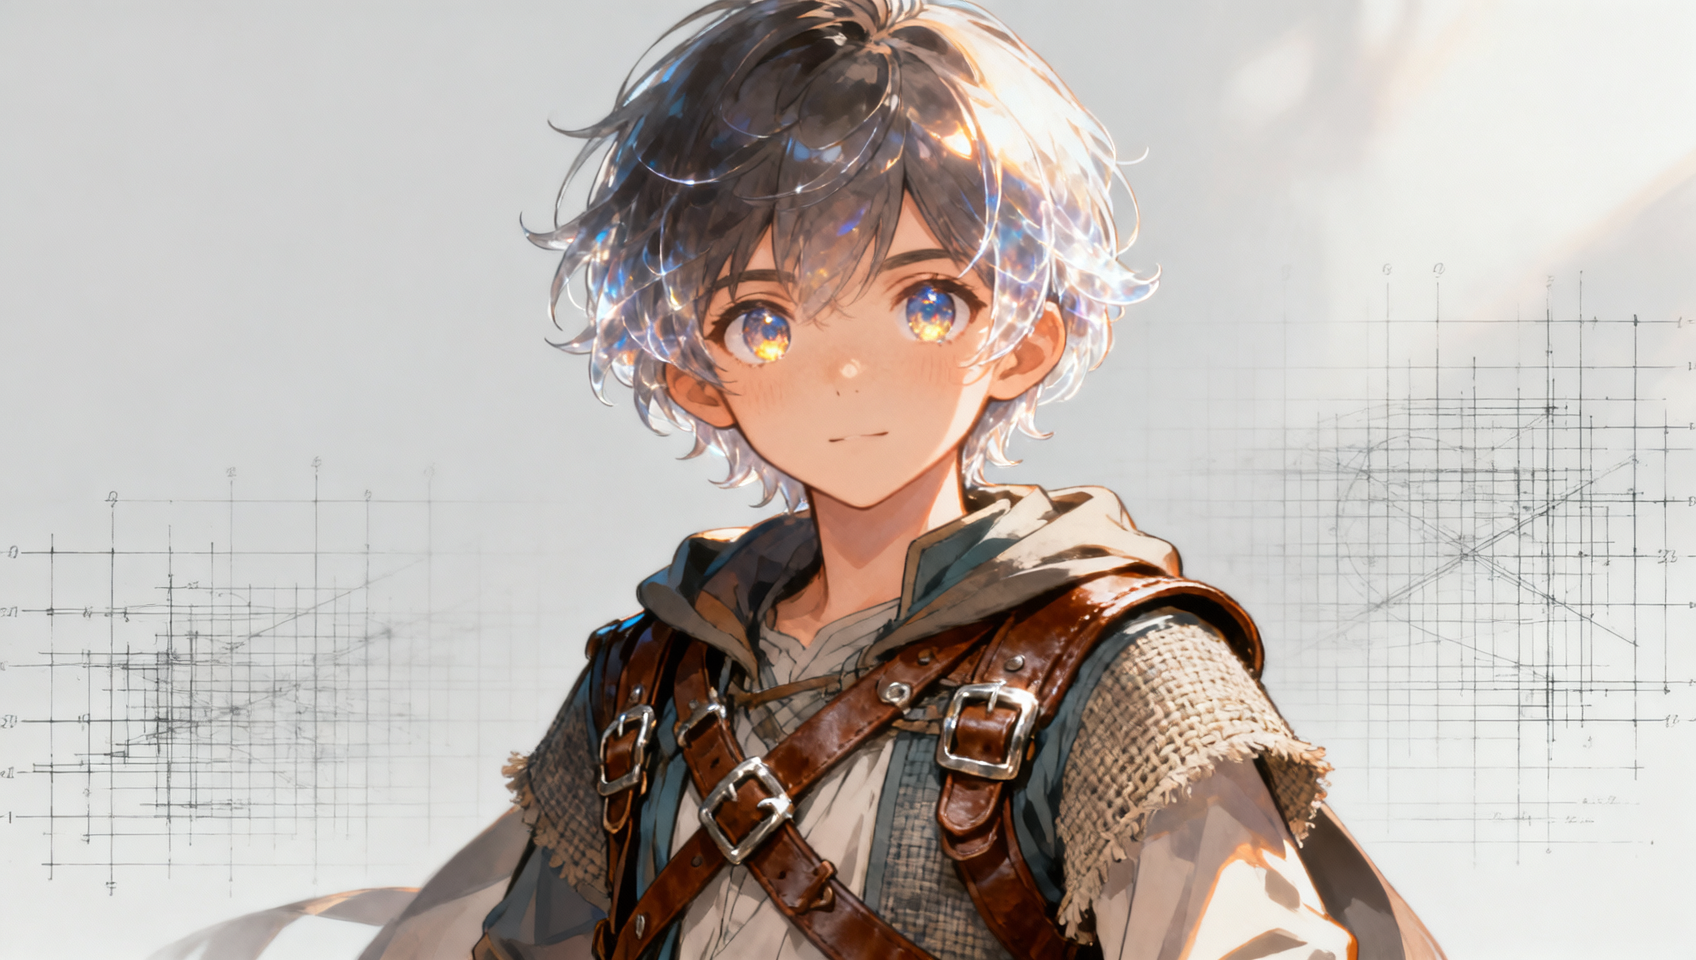
Understanding the Niji 7 Model Update
The landscape of AI-generated anime art shifted significantly with the release of Niji 7. For creators who rely on stylized character design, manga panels, or animated concept art, this model represents a substantial leap forward from its predecessor. Unlike the general-purpose V 6 model, Niji is fine-tuned specifically for anime aesthetics, handling everything from cel shading to intricate line work with greater fidelity.
Niji 7 is not just a version number increment; it is a retraining of the underlying diffusion model to better understand anime-specific syntax. When you generate images using this model, you are accessing a system that has been optimized to recognize terms like "sakuga," "key visual," or specific studio styles without requiring excessive prompt engineering. For users operating within MidassAI Studio, accessing this power is seamless, allowing you to focus on creativity rather than configuration.
This guide breaks down exactly how to enable the model, what makes it different, and how to leverage its new capabilities for professional-grade results.
How to Enable Niji 7 in Your Workflow
Activating the latest Niji model is straightforward, but knowing both methods ensures you maintain flexibility depending on your interface. Whether you are typing commands directly or using a GUI wrapper, the logic remains the same.
Method 1: Using Parameters in the Prompt
The most direct way to specify the model is by appending the version parameter to your prompt string. This method is ideal when you are batch-testing ideas or want to ensure a specific generation uses Niji 7 regardless of your global settings.
Syntax Example:
/imagine prompt: a cyberpunk samurai standing in rain --niji 7 --ar 16:9
By adding --niji 7, you override the default model setting for that specific job. This is crucial when you are mixing workflows, perhaps generating backgrounds with V 6 but characters with Niji 7.
Method 2: Changing Global Settings
If you specialize exclusively in anime art, changing your default setting is more efficient. In the Midjourney settings menu, you can select the Niji model version. Once set, every prompt you submit will automatically use Niji 7 without needing the parameter tag. This reduces token usage and keeps your prompt history cleaner. In MidassAI Studio, these settings are often preserved within your project workspace, ensuring consistency across sessions.
Core Upgrades in Niji 7
The transition to version 7 brings five distinct improvements that change how you should approach prompt construction. Understanding these nuances allows you to stop fighting the model and start directing it.
1. Enhanced Prompt Understanding
Previous versions often struggled with complex anime terminology, sometimes ignoring specific pose descriptors or lighting conditions in favor of generic aesthetics. Niji 7 demonstrates a sharper adherence to natural language. You can now describe complex interactions, such as "character looking over shoulder while holding a glowing artifact," with higher accuracy. The model parses spatial relationships better, reducing the need for repetitive weighting like ::2 unless specific emphasis is required.
2. Improved Visual Consistency
Character consistency has historically been a pain point in anime generation. Niji 7 improves the stability of facial features and clothing details across multiple generations. While not a perfect solution for absolute consistency without seeds or character references, it provides a much stronger baseline. This is particularly useful when creating comic strips or storyboards where the protagonist needs to look recognizable from panel to panel.
3. Refined Line Art Aesthetics
The "inked" look of traditional manga is now more reproducible. Niji 7 handles line weight variation with greater sophistication. Thick outlines for foreground elements and thinner lines for background details are rendered more naturally. This upgrade makes the model particularly suitable for black-and-white manga pages where shading is achieved through hatching rather than color gradients.
4. Optimization for Minimalism
Earlier models tended to over-detail images, filling negative space with noise or unnecessary textures. Niji 7 respects white space better. If you prompt for a "minimalist poster," the model is more likely to leave areas clean rather than filling them with subtle gradients. This is vital for key visuals where text overlay is planned, as it prevents the background from competing with the typography.
5. Adjusted Style Reference System
The --sref (style reference) parameter behaves differently in Niji 7. The model is more sensitive to the artistic style of the reference image rather than just the color palette. You can now upload a screenshot from a specific anime series and use --sref to guide the rendering style without copying the composition. This allows for "in the style of" prompts that actually respect the copyright boundaries while capturing the visual vibe.
Comparing Niji 7 vs. General V Models
Knowing when to switch between Niji and the standard V series is part of mastering Midjourney. Niji is specialized, but it is not always the correct tool for every job.
| Feature | Niji 7 | General V 6/V 7 |
|---|---|---|
| Best Use Case | Anime, Manga, Cel Shading | Photorealism, 3D Render, Oil Painting |
| Line Art | High fidelity, variable weight | Softer, often blended |
| Prompt Adherence | High for anime terms | High for general descriptive terms |
| Color Palette | Vibrant, cel-shaded | Naturalistic, cinematic |
Use Niji 7 when your goal is explicitly 2D animation style, manga, or stylized character portraits. Switch to the V series if you need realistic lighting, photorealistic textures, or 3D CGI looks. Mixing them can be effective; for example, generating a realistic background with V 6 and compositing a Niji 7 character on top.
Recommended Parameter Combinations
To get the most out of Niji 7, you should pair it with specific parameters that complement its strengths. The default settings are good, but fine-tuning yields professional results.
For Character Portraits:
/imagine prompt: portrait of a mage with crystal staff, detailed eyes, studio lighting --niji 7 --ar 2:3 --stylize 250
The --ar 2:3 suits character sheets, while a moderate --stylize keeps the design clean without over-embellishing.
For Cinematic Scenes:
/imagine prompt: wide shot of futuristic tokyo street, neon signs, rain, anime movie style --niji 7 --ar 16:9 --style raw
Using --style raw reduces the default beauty bias, allowing for grittier, more atmospheric scenes that fit narrative contexts.
For Style Consistency:
/imagine prompt: hero character running --niji 7 --sref [URL] --cref [URL]
Combining style reference (--sref) with character reference (--cref) is powerful in Niji 7. Ensure your references are high-quality anime art to avoid contaminating the generation with noise.
Who This Is For
This workflow is designed for concept artists, indie game developers, and manga creators who need rapid iteration on visual ideas. It is also suitable for marketing teams creating anime-style assets for campaigns. If you are looking for photorealistic stock imagery, this model is not your primary tool. However, for anything involving stylized human figures and expressive environments, Niji 7 is the industry standard.
Final Thoughts on Implementation
Adopting Niji 7 requires a slight shift in how you write prompts. You can afford to be more direct with your language and less reliant on magic words that worked in previous versions. The model's improved understanding means you spend less time rerolling for basic compliance and more time refining the artistic direction.
Remember that the interface you use matters. Working within a structured environment like MidassAI Studio helps manage these parameters and keeps your generations organized. You can save your preferred Niji 7 setups as presets, ensuring your team maintains a consistent visual language across all projects.
Ready to test these prompts? Head over to the studio environment to start generating with the latest model parameters.