
Midjourney Prompt Guide: Creating Grid Layout Images
Midjourney AI Team · July 23, 2026 · 7 min read
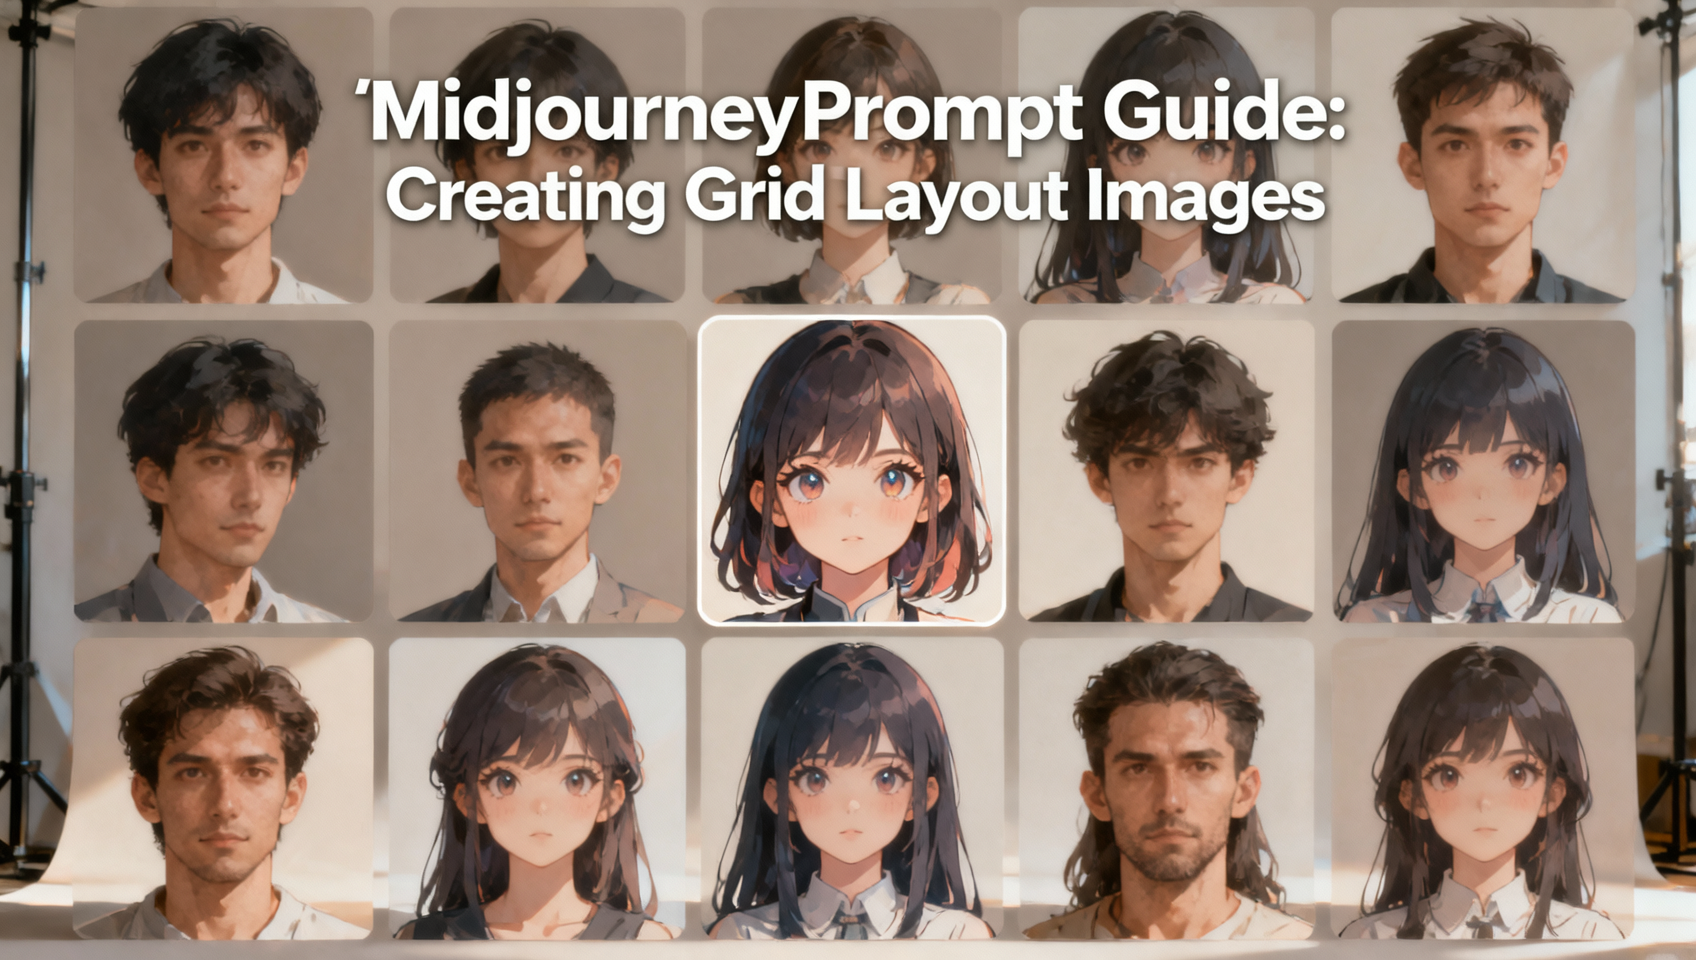
Mastering Consistent Grid Layouts in Midjourney
Creating a cohesive set of images—whether for a character sheet, a portfolio contact sheet, or a thematic mood board—requires more than just typing a few words into a text box. It demands an understanding of how Midjourney interprets lighting, composition, and style consistency. When you aim for a grid layout, you are essentially looking for visual harmony across multiple distinct subjects or variations of the same subject.
This guide breaks down six specific categories where grid layouts shine. We will cover the exact prompt structures and parameters needed to achieve professional results using Midjourney version 7. You can test these workflows directly within MidassAI Studio, which streamlines the generation process while giving you full control over parameters like aspect ratio and stylization.
Crafting Professional Headshots
Corporate branding and LinkedIn profiles often require a set of consistent headshots. The challenge lies in maintaining lighting and skin texture across different angles or expressions without the subject looking like a different person.
For professional headshots, avoid overly artistic filters. You want clarity and realism. Use --style raw to reduce Midjourney's default aesthetic bias.
Prompt Strategy:
/imagine prompt: professional corporate headshot of a woman in a navy blazer, neutral background, studio lighting, sharp focus, 85mm lens --ar 4:5 --style raw --v 7
To create a grid of different employees or the same employee in different outfits, keep the lighting description identical. Change only the clothing or demographic descriptors. If you have a reference face, use --cref (Character Reference) to maintain identity consistency across the set. When you arrange these vertically or in a 2x2 grid later, the consistent background and lighting will make them look like part of a single campaign.
Designing Chibi Anime Characters
Chibi styles rely on exaggerated proportions and flat, vibrant colors. A grid layout works exceptionally well here for showcasing a cast of characters or a single character in various emotional states.
The key to chibi is simplification. Complex textures often clash with the cute aesthetic. Use high stylization values to push the creativity of the model while keeping the composition clean.
Prompt Strategy:
/imagine prompt: chibi anime character sheet, full body and expressions, flat color, vector art style, white background --ar 3:2 --stylize 250 --v 7
When generating these, consider using multi-prompts to separate the character definition from the style definition. For example: cute robot chibi :: flat vector style :: white background. This helps Midjourney understand that the style should remain constant even if you swap the robot for a wizard in the next prompt. Consistency in background color is critical for grid alignment; always specify "white background" or "transparent background" if you plan to composite them later.
Building Disney-Style 3D Cartoons
Unlike 2D anime, Disney-style 3D renders require complex lighting, subsurface scattering on skin, and detailed textures. A grid here often serves as a storyboard or a character turnaround sheet.
Depth of field is your friend. It separates the character from the background, making the grid look less cluttered.
Prompt Strategy:
/imagine prompt: 3d render of a brave young explorer, disney animation style, volumetric lighting, octane render, cute and expressive --ar 16:9 --stylize 400 --v 7
For a grid, you might want a square aspect ratio (--ar 1:1) to ensure each cell in your final layout is uniform. If you are generating a sequence, keep the camera angle consistent. Describe the camera explicitly, such as "eye level shot" or "low angle shot," to prevent Midjourney from randomizing perspectives which breaks the grid's visual flow.
Rendering Cyberpunk Heroes
Cyberpunk aesthetics are dense with neon, rain, and metallic textures. Creating a grid of cyberpunk heroes can easily look messy if the lighting colors clash. To avoid this, define a specific color palette in your prompt.
Prompt Strategy:
/imagine prompt: cyberpunk mercenary portrait, neon blue and pink lighting, rain soaked street background, detailed mechanical armor --ar 4:5 --chaos 10 --v 7
Using --chaos 10 introduces slight variations without losing the core theme. For a grid, you might generate four different characters using the same lighting setup. The "neon blue and pink" constraint ensures that when placed side-by-side, the images share a unified color grade. Avoid using --style raw here; you want Midjourney's default artistic interpretation to handle the complex glow effects.
Capturing Animal Portraits
Animal portraits in a grid format make excellent wallpapers or educational cards. The focus must be on the eyes and fur texture. Macro photography settings work best to fill the frame with the subject.
Prompt Strategy:
/imagine prompt: extreme closeup portrait of a golden retriever, fur detail, wet nose, bokeh background, natural lighting --ar 1:1 --v 7
Consistency is key. If you are doing a grid of different animals, keep the background blur (bokeh) and lighting type (natural lighting) identical. This ensures that a cat portrait looks like it belongs in the same collection as a dog portrait. You can also use --zoom features in MidassAI Studio to adjust the framing after generation if the subject is too small for your grid layout.
Creating Retro Street Scenes
Retro scenes rely on film grain, specific color grading, and vintage composition. A grid of street scenes can tell a story of a city over time or different locations within the same era.
Prompt Strategy:
/imagine prompt: 1980s Tokyo street scene at night, film grain, kodak portra 400, neon signs, wet pavement --ar 3:2 --stylize 150 --v 7
Film simulation prompts are sensitive. Mentioning specific film stocks like "Kodak Portra" or "Fuji Superia" helps lock in the color science. For a grid, ensure the time of day is consistent. Mixing day and night shots in a single grid often looks disjointed unless that is your specific artistic intent.
Assembling Your Grid
Midjourney generates images in 2x2 variations by default, but creating a custom grid of different concepts requires external assembly or specific parameter tuning.
Quick Takeaways
When you have your six categories ready, the final step is arrangement. While Midjourney provides the raw assets, tools within MidassAI Studio allow you to manage these generations efficiently. You can upscale your favorites using the U buttons and then download them for final composition in your preferred design software.
Remember that version 7 (--v 7) offers improved coherence and text rendering, which is vital if your grid includes signage or labels. Always review your generations for anatomical consistency, especially in hand gestures for the professional headshots and cyberpunk categories.
Next Steps for Your Workflow
Generating the images is only half the battle. Integrating them into a larger project requires a streamlined pipeline. Whether you are building a game asset library, a marketing deck, or a personal portfolio, consistency saves hours of editing time.
Don't limit yourself to static images. Once you have your grid assets, consider exploring how these characters might move in AI video or how ambient sounds could match your retro street scenes. The ecosystem of AI tools is interconnected.
Ready to refine your prompt engineering and generate high-fidelity grids without the command-line hassle?
Try Midjourney in MidassAI Studio to access these parameters in a user-friendly interface and start building your visual library today.