
niji
Niji 7 Trendy 3D Characters | Midjourney Prompt Guide Part 1
Midjourney AI Team · July 23, 2026 · 7 min read
Keywords: niji 7 prompt, 3d character design, midjourney tutorial
Published: July 23, 2026 Author: Midjourney AI Team
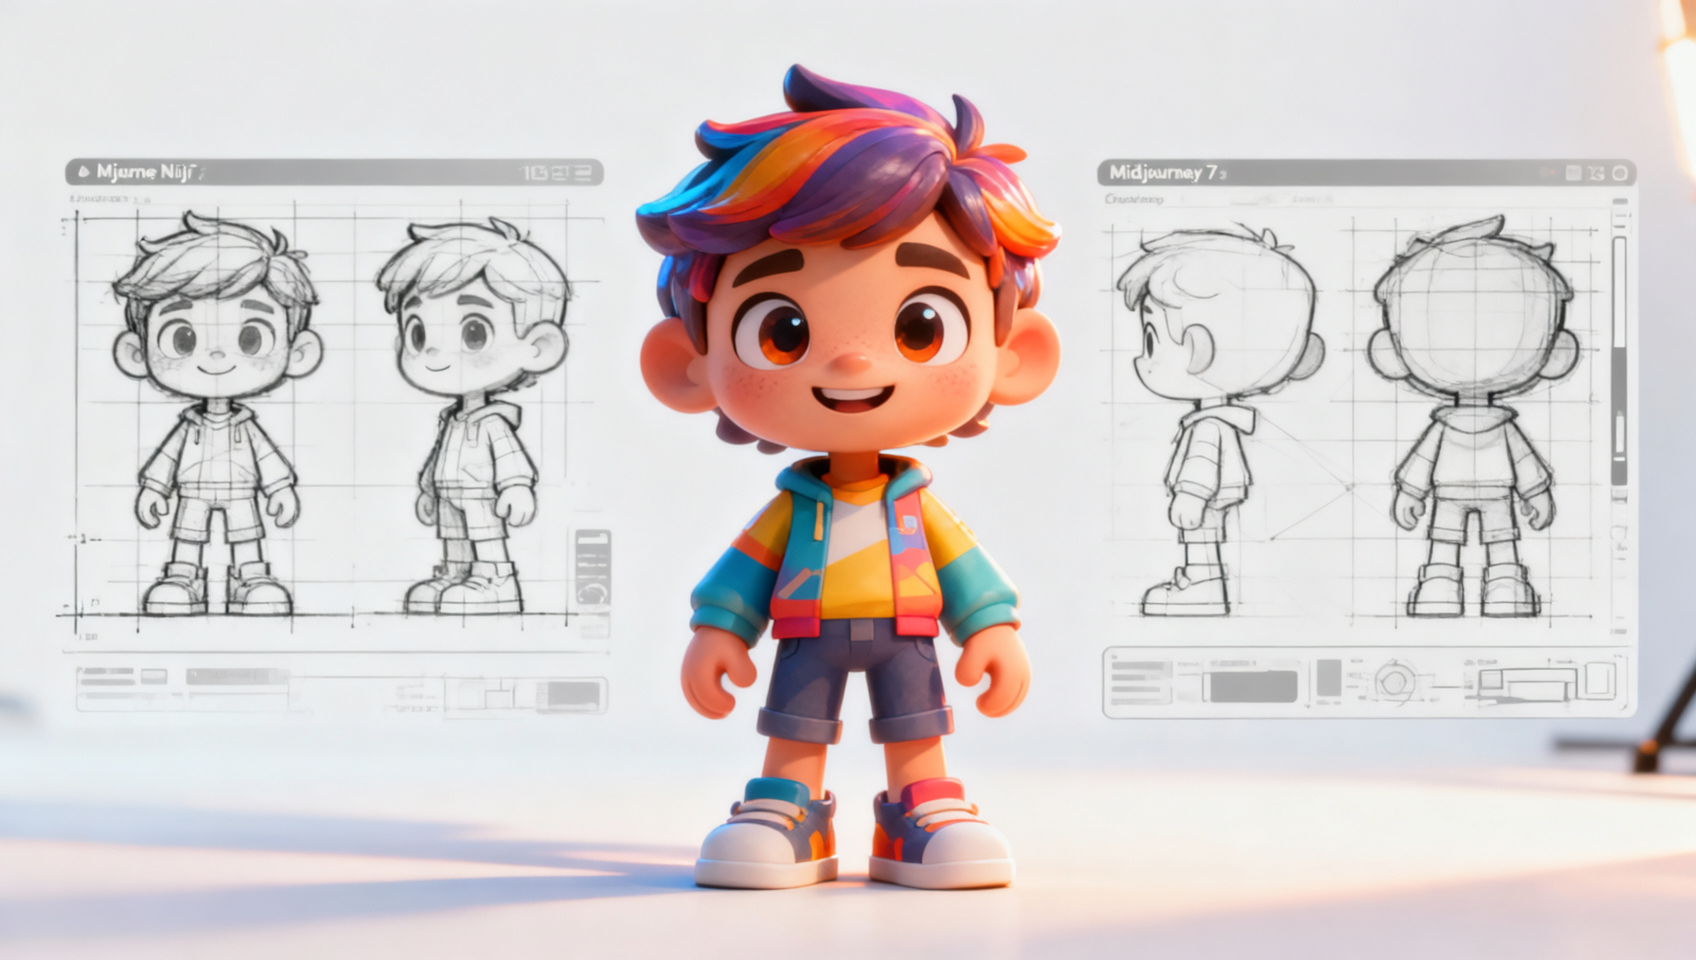
Why Niji 7 Changes the Game for 3D IP Design
Creating consistent, high-quality 3D characters for toy lines or digital IPs used to require weeks of modeling in Blender or Maya. With the latest iteration of the Niji model, specifically version 7, the barrier to entry has shifted dramatically. This model understands depth, materiality, and lighting in a way that previous versions struggled to maintain consistently.
For designers and hobbyists alike, the ability to generate "toy-ready" assets directly from text prompts opens up rapid prototyping workflows. You are no longer just making images; you are creating potential products. The key lies in understanding how to communicate material properties—like matte plastics, glossy vinyl, or soft plush textures—to the AI.
This guide breaks down a specific workflow for generating trendy 3D characters. We will look at the exact prompt structure, analyze why specific parameters matter, and show you how to execute this within MidassAI Studio. Whether you are building a personal brand or testing concepts for a client, mastering this style gives you a significant edge in visual development.
Quick Takeaways
The Master Prompt Structure
To achieve a look that resembles high-end blind box toys or collectible figures, your prompt needs more than just a subject description. It requires lighting instructions and render engine keywords. Below is a foundational prompt you can use immediately.
/imagine prompt: a cute 3D trendy character, little boy wearing oversized streetwear hoodie, vibrant colors, blind box toy style, pop mart style, octane render, subsurface scattering, soft studio lighting, rim light, pastel background, high detail, 8k --ar 3:4 --niji 7 --style raw --s 250This prompt is engineered for specificity. Notice the inclusion of "octane render" and "subsurface scattering." These terms signal the AI to simulate how light passes through semi-translucent materials, a hallmark of high-quality vinyl toys. The --ar 3:4 aspect ratio is chosen deliberately. It provides enough vertical space for a full-body character shot while maintaining a composition suitable for mobile screens or portfolio presentations.
Using --style raw is critical here. Standard stylization often adds artistic flair that can distort 3D geometry. Raw mode adheres more strictly to your prompt descriptors, ensuring the character looks like a physical object rather than a digital painting. The --s 250 parameter balances artistic interpretation with prompt adherence, preventing the image from becoming too abstract.
Deconstructing the Aesthetic
Understanding why the prompt works allows you to modify it for different needs. The core of this aesthetic relies on three pillars: lighting, material, and composition.
Lighting Setup The prompt specifies "soft studio lighting" and "rim light." Studio lighting ensures even illumination across the character, reducing harsh shadows that can obscure design details. Rim lighting creates a separation between the character and the background, enhancing the 3D effect. Without rim light, the character might feel flat against the pastel background. If you want a more dramatic look, you can swap "soft studio lighting" for "volumetric lighting" or "god rays," but be careful not to lose surface detail.
Material Definition Terms like "blind box toy style" and "pop mart style" are not just buzzwords; they trigger specific training data related to vinyl collectibles. This tells the model to smooth out textures and avoid realistic skin pores or fabric weaves that belong to photography. If you want a plush look instead, replace these terms with "felt texture" or "soft plush material." For a metallic finish, use "anodized aluminum" or "chrome finish."
Color Palette "Vibrant colors" paired with a "pastel background" creates contrast. The character pops because the background recedes. If you are building a brand, you should replace "vibrant colors" with specific hex codes or color names, such as "teal and orange color scheme" or "monochromatic blue." Consistency in color is vital for IP recognition.
Executing in MidassAI Studio
Running these prompts efficiently requires a stable environment. MidassAI Studio provides a streamlined interface for managing Midjourney workflows without the friction of Discord commands. Here is how to integrate this into your process.
- Access the Tool: Navigate to the Midjourney section within MidassAI Studio. The interface is designed to keep your generations organized by project rather than scattered chat logs.
- Input the Prompt: Copy the master prompt above into the input field. Ensure you select the Niji 7 model version in the settings panel if it is not default.
- Iterate Quickly: Generate a grid of four variations. Do not upscale immediately. Look for the silhouette and lighting consistency first.
- Refine Parameters: If the character looks too realistic, increase the
--stylizevalue. If the hands or accessories are distorted, add--no realistic handsor focus on close-up crops using--zoomfeatures after upscaling. - Save and Organize: Use the studio's organization tools to tag successful generations. This builds a library of assets you can reference for future consistency using
--cref(character reference).
Troubleshooting Common Issues
Even with a robust prompt, AI generation can produce anomalies. Here are the most frequent pitfalls and how to fix them.
Issue: The Character Looks Too Realistic
If your output resembles a photograph of a person rather than a toy, your lighting keywords might be too strong. Remove "subsurface scattering" and replace "octane render" with "3D render." You can also add --style raw if you haven't already, as it sometimes reduces photorealistic noise in Niji models.
Issue: Inconsistent Colors
If you are trying to build a series and the colors shift every time, you need to lock them down. Use color anchoring in your prompt, such as "wearing a specific red hoodie #FF0000." For advanced consistency, generate one perfect image, get its URL, and use it as a character reference with --cref [URL] in subsequent prompts.
Issue: Cluttered Backgrounds
The prompt calls for a pastel background, but sometimes the AI adds props or scenery. To force a clean look, add --no background details or simply specify "solid color background." This is crucial if you plan to cut out the character for compositing later.
Who This Is For
This workflow is designed for concept artists, indie toy designers, and content creators who need rapid visualisation. It is not intended for final production meshes ready for 3D printing without cleanup. However, it serves as an exceptional proof-of-concept tool. If you are validating a character design before committing to modeling, this saves hours of work.
It is also suitable for marketers needing fresh visuals for social media campaigns. The "trendy" aesthetic aligns well with current social media preferences for bright, clean, and engaging visuals. By using MidassAI Studio, you keep these assets organized and ready for deployment across different channels.
Next Steps in Your Workflow
Once you have generated a character you love, the work isn't done. The next phase involves consistency. Start building a character sheet by prompting for front, side, and back views using the same seed number. You can find the seed number in the job details and append --seed [NUMBER] to your new prompts to maintain noise structure.
From there, you can experiment with different poses or outfits while keeping the facial features locked using character references. This is where the true power of the tool shines—transforming a single image into a living brand asset.
Ready to start building your own 3D IP library? Access the full power of Midjourney without the Discord clutter.